DNS records for a custom domain: a practical setup worksheet
Connecting a custom domain starts with instructions from the service that will use it, not with a generic set of records. This guide helps you turn those instructions into a controlled change. It is for an organizer preparing an event page; it does not supply live DNS destinations or assume any particular platform supports custom domains.
Boletolibre editorial team
Published
1. Find the DNS settings that actually apply
The registrar manages the domain registration; the authoritative DNS provider supplies the records used for that domain. These roles may be handled through different accounts. DreamHost’s instructions, for example, apply only when the domain’s nameservers point to DreamHost. Having a registration account there is not enough by itself.[1][2]
Before editing, confirm the current nameservers and the account responsible for their DNS zone. If another person manages the domain, ask them to identify that account and the intended change. Do not switch nameservers merely because a different provider has a convenient record editor. That would be a broader change, requiring a review of the services already using the domain.
2. Read the type before copying the value
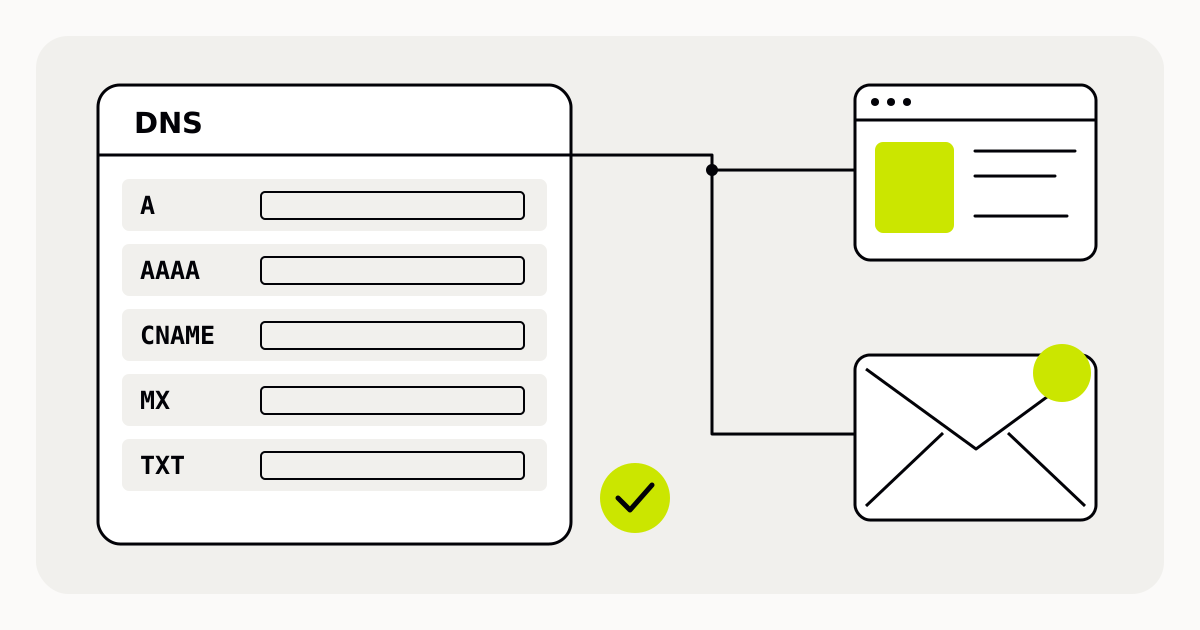
| Type | Purpose | What to obtain from the service |
|---|---|---|
| A | Maps a name to an IPv4 address | The exact IPv4 address requested |
| AAAA | Maps a name to an IPv6 address | The exact IPv6 address requested |
| CNAME | Makes one name an alias of another name | The exact target hostname |
| MX | Directs mail delivery | Mail destinations and their priorities |
| TXT | Stores text, such as a verification value | The complete text and the name where it belongs |
These are different jobs, not five records that every website needs. Add only the types requested for your setup. A verification TXT record does not itself send visitors to a web page, and changing an MX record is not how you publish a site.[1]
Ask specifically how the provider handles the bare domain and any subdomain. Ordinary CNAME records have restrictions, including conflicts with other records at the same name. Some providers offer special mechanisms for the bare domain; do not assume those mechanisms exist everywhere or substitute one without instructions.[1]
3. Make a worksheet before saving
| Field | What to record |
|---|---|
| Hostname | The exact name to connect or verify |
| Record type | The type specified by the destination service |
| Value or target | Copy the supplied address, hostname or text without inventing a replacement |
| TTL | The requested setting, or the provider’s documented default |
| Existing record | What is already present at this name and whether it must change |
| Responsible person | Who approves, applies and checks the change |
DNS panels do not all interpret their name fields in the same way. A panel may expect a short label, a full name or a particular representation of the bare domain. Follow that panel’s documentation so that it does not append the domain twice. DreamHost’s field conventions are examples of its own interface, not instructions for every service.[1]
4. Define the scope with a hypothetical example
Imagine that example.com already has a main website and working email. The organizer wants tickets.example.com to serve an event page. First, confirm that the chosen page service supports that hostname. Then collect its actual routing and verification instructions and add each requested change to the worksheet. There is deliberately no sample target here to copy into a live account.
The task is to connect tickets.example.com, not to replace the entire domain configuration. Review records for that exact name and leave unrelated web and mail settings alone. If the service instead asks for a nameserver change or the bare domain, pause the narrow change and obtain a plan for preserving the other services.
5. Preserve email and make a reviewable change
MX records direct email delivery, while TXT records can carry verification or email-related information. A website connection therefore deserves an email review even when mail is not moving. Keep a copy of the existing configuration and identify the records that must remain in place.[1]
- Compare the requested hostname with the existing records at that name.
- Resolve conflicts according to the DNS provider and destination service instructions; do not delete unrelated records to clear an error.
- Apply only the approved changes and record what changed.
- Keep the previous settings and an agreed recovery contact available until checks are complete.
If you cannot determine what an existing value does, ask its owner before replacing it. A tidy-looking DNS zone is not the objective; keeping each intended service reachable is.
6. Check DNS, the page and HTTPS separately
DNS answers can be cached. An update may become visible at different times to different clients, depending on the cached information and its refresh behavior. Treat TTL as part of that behavior, not as a promise that the website will work everywhere after a fixed countdown.[2][1]
- Confirm the requested records in the authoritative DNS settings and review the destination service’s verification status.
- Open the intended address and confirm that the correct event page appears, not merely that a page loads.
- Check HTTPS separately; a DNS record is not proof that certificate setup is complete.
- Check existing email delivery and any other services included in your change plan.
- If a check fails, revisit the hostname, type, target, conflicting entries and account used before making another change.
Finish by keeping the worksheet with the person responsible for the domain. It becomes a record of the change and a useful starting point for the next event, without turning this example into a platform-specific configuration recipe.
Sources and further reading
- Custom DNS records and provider-specific editingDreamHost · Accessed
- Domain names and DNS cache refreshMDN Web Docs · Accessed