Event wayfinding signage placement checklist: follow the guest route
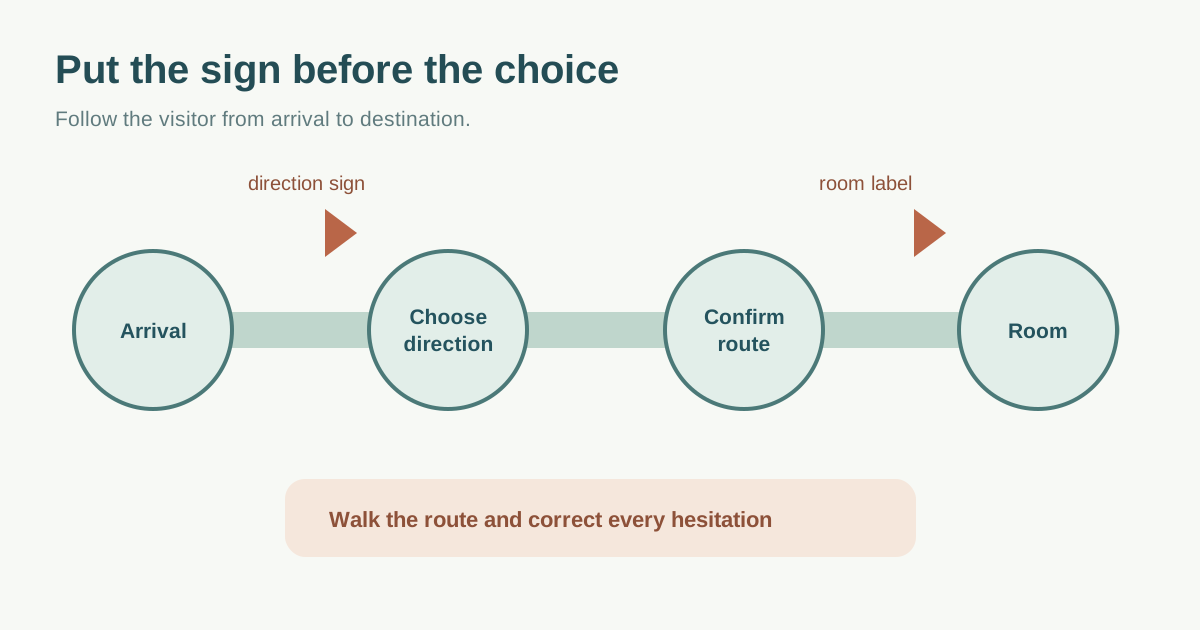
A sign is useful where a visitor has to choose a direction, not merely where a blank wall is available. Start with the routes people actually take, record each decision and confirmation point, then test the planned message from the visitor’s approach. This makes the sign order, installation map and day-of checks much more precise.
Boletolibre editorial team
Published
Trace each visitor route on the current site plan
Walk from parking, transit or drop-off to the correct entrance, check-in, sessions, toilets, food, step-free facilities and departure. Trace the reverse and any route between rooms. Mark the point where a first-time visitor must choose left, right, level or queue; also mark long stretches where a reassurance sign confirms the route. The leading event-specific result uses an attendee journey and onsite walk-through as the basis for signage placement.[1]
Use the approved venue/site plan as the source of truth and record its version. HSE venue guidance calls for a referenced plan showing entrances, exits, facilities and circulation. Temporary event signs must not contradict existing venue, safety or emergency signage. Ask the venue which routes and mounting positions it permits.[4]
| Route moment | Sign purpose | What to check on site |
|---|---|---|
| Arrival / building approach | Confirm correct event and entrance | Visible before visitors pass the turn |
| Queue split / registration | Separate ticket types or check-in lanes | Visible from back of arriving queue |
| Lift or corridor junction | Point to destination and step-free route | Consistent room names on both levels |
| Long corridor / room door | Reassure and identify destination | No contradictory room label |
| Departure / transport | Confirm exit and pickup direction | Does not conflict with emergency route |
Specify the decision and message for each location
For every sign, record an ID, map pin, approach direction, destination wording, arrow, installation owner, venue approval and the event phase when it is needed. Use the same room names as tickets, schedules, maps and staff scripts. Put the destination first; keep sponsor marks and decoration from obscuring the direction. A marketing-led Google result spends much of its space on trade-show promotion; this guide concentrates on navigational decisions rather than brochures or selfie frames.[2]
Check the sign from the expected viewing position and in the actual lighting. A sign seen only after the visitor has passed the junction is late. If one decision point has multiple destinations, make the hierarchy clear and avoid an overloaded board. Confirm that an alternative accessible route is indicated where the primary route is not suitable, but have the venue validate the route rather than inventing a step-free promise.
Coordinate placement with venue and crowd operations
Agree how signs are attached, who installs and removes them, and whether they interfere with doors, exits, queue space or existing signs. Keep stands and fixtures out of circulation and emergency routes. HSE crowd guidance treats signage alongside queues, barriers and stewarding for arrivals, movement and departure; a sign plan alone cannot fix unsafe flow. Local event and accessibility requirements still need site-specific review.[3]
Separate fixed destinations from live information. A printed room sign may be dependable without power; a digital schedule can be changed quickly but needs a named editor and fallback if the display fails. Do not make directions depend on a single powered screen at a critical junction.
Test, correct and keep the map current
Before doors, ask someone unfamiliar with the site to follow the arrival-to-room route with only the public information and signs. Start outside, then repeat for the step-free route, late arrival and departure. Log hesitation, obstructed sightlines, wrong-facing arrows, inconsistent room names and any temporary closure. Update the sign register and tell staff which version is current.[1]
When a room or entrance changes, identify every upstream sign and message that now points to the old route. Have the venue approve the revised location, replace or cover obsolete directions and walk the affected route again. Do not cover required safety signs or improvise new emergency directions.
Download the sign-location register and route-walk sheet (Markdown, English)
Sources and further reading
- Event wayfinding for company events in external venuesNaboo · Accessed
- Event Wayfinding Signage: The Ultimate Checklist for Effective Event MarketingThe H&H Group · Accessed
- Put crowd controls in placeUK Health and Safety Executive · Accessed
- Venue and site designUK Health and Safety Executive · Accessed