First-time attendee community onboarding: an optional before, during and after plan
A first-time attendee may understand the agenda and still have no clear way into the conversations around it. That is an organizer design problem, not a reason to require everyone to network. Build a small, optional path: explain what participation looks like before arrival, make at least one hosted entry point easy to find during the event, and offer a specific next step afterward. Keep essential event information and attendance available without joining a group, installing an app or disclosing personal interests.
Boletolibre editorial team
Published
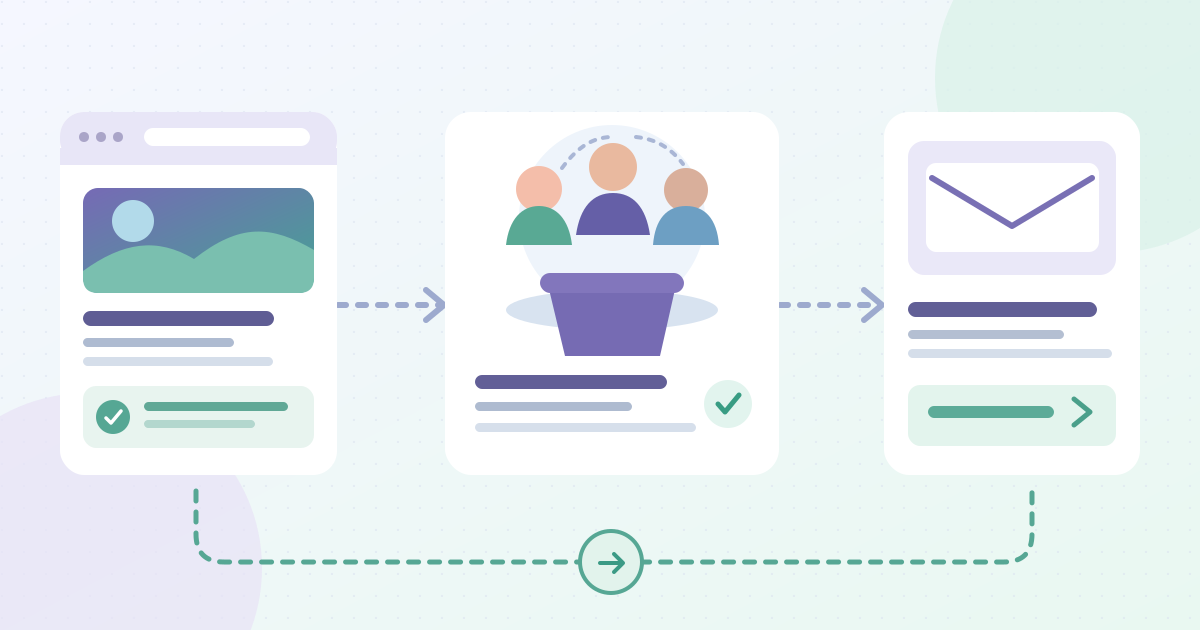
1. Define the community invitation and its limits
Download the first-time attendee community path and owner worksheet (English Markdown)
Name the audience and purpose before choosing a platform or activity. Is this a professional association’s peer network, a local festival’s neighborhood group, a conference track conversation or simply a chance for solo visitors to ask questions? Write one sentence describing the useful interaction you can actually host. A first-time flag in registration does not mean someone wants introductions; it only helps the organizer offer a choice if that use was explained. Keep ticket validity, check-in and core programme access independent of community participation.
Decide what the invitation does not cover. Event help, accessibility requests, lost tickets and urgent venue concerns need their existing support routes, not a public group thread. A persistent community may be valuable for some events; a single hosted table or moderated online discussion may be enough for others. Record when any space opens, who manages it, and whether it closes after the event. Do not promise an ongoing network unless someone owns it.
2. Map the first-timer journey from questions to choices
Walk the route as someone who has never attended: event page, confirmation or welcome message, arrival or stream entry, first break, last session and follow-up. At each point, write one practical question a newcomer might have and the place where its answer should appear. Examples are “Where is the welcome point?”, “Can I join a conversation without an app?” and “Who can introduce me to people discussing this topic?” Confirm those answers against the current programme and venue plan.
Choose no more entry points than staff can run. A short pre-event invitation, one hosted welcome moment, a topic-led table and one post-event route can be sufficient. Connect each to a named owner, time, location or URL, capacity if applicable, and a fallback when a host or room changes. This is a navigation design task: a moment is only useful if people can locate it from the same public sources they use for the rest of the event.
3. Publish clear information before arrival
On the event website or in a pre-event message, explain the optional first-timer opportunity in plain terms: who it is for, what happens, when and where, whether an RSVP is needed, and what to do if someone would rather attend independently. Do not hide the details inside an app download or a social account. A link should say what it opens, such as a welcome-moment schedule or community discussion, rather than “click here.” W3C’s accessibility guidance emphasizes clear navigation, descriptive links and multiple ways for people to find content.[4]
Give newcomers enough context to make a choice without requiring a personal profile. A sample sentence might say, “New to this event? An optional host-led introduction starts near the information desk at 10:20; you can join for ten minutes or go directly to sessions.” Replace that example with approved event facts. If you invite topic preferences, explain how they will be used, make the question optional and ask only what the host can act on. W3C recommends short forms with clear labels and instructions for any required or optional fields.[2][3]
Before release, open the invitation on a phone and with a keyboard. Read the time, access route and alternative without relying on color, an image or an unlabeled button. For a hybrid event, make the online and on-site routes separately clear. Ask the accessibility owner how participants can request adjustments through the event’s established channel; do not make a public discussion group the only way to ask for help.[1][4]
4. Give hosts and returning attendees a bounded role
Assign a lead host, backup and contact point for each welcome activity. Brief them on its purpose, current schedule, meeting place, format and handoff to registration or event support. A host should be easy to identify without requiring a newcomer to guess who belongs to an existing circle. Have an agreed way to tell the public if the host moves, is delayed or the activity fills. Record the version of the public details that the host received.
Returning attendees can volunteer to be bridges, but give them a specific job rather than a vague request to “network with newcomers.” For example, a volunteer might welcome people at a topic table, explain the session format, or introduce two people who have each agreed to an introduction. Avoid public labels that single out an attendee as “new” without their choice. A first-time attendee may prefer to listen, bring a colleague, leave early or decline an introduction; brief hosts to accept each option without follow-up pressure.
5. Make one live entry point easy to find and easy to leave
Place the entry point where the attendee is already making a decision: near the information desk, beside the relevant session, in the published programme or within the live event page. Show the start and end time, host identity, meeting location and topic in text. If the activity moves, update the public source and tell the front desk and hosts. Physical signage can point to the activity, but the website or programme should still offer a readable text route for someone who does not see that sign.[1]
Design a low-pressure first minute. A host can explain the topic, offer a short prompt and say that listening is welcome. If seats, online slots or facilitation time are limited, say so before inviting people to register; prepare an alternative such as another open discussion or a way to receive the topic notes. Do not describe a full table as available because the public page has not been updated. Keep a route back to ordinary sessions so opting out does not cost someone essential event content.
For a hybrid or online event, identify the platform link, access requirements, moderator or host, and a contact route if it fails. Test it with a visitor account rather than an organizer login. A non-app fallback might be a browser link, a staffed information point, a plain-text schedule and contact address, or an on-site topic board, depending on the event. Do not assume a feature exists in the ticketing platform; verify the actual service and approved access settings.[1]
6. Use relevance without turning preferences into public labels
If the event has several topics, let attendees choose a topic or question to explore rather than assigning them to a person automatically. A small topic-led meeting, visible discussion prompt or host-led introduction provides a reason to talk while preserving choice. Publish the real topic titles and times, then allow a participant to move between them. Do not claim that a matching algorithm or an interest form will create a useful connection for every attendee.
If someone opts into an introduction, confirm what information the host may share and with whom. A role, interest or contact detail provided for planning should not automatically appear on a badge, attendee list or public board. The host can introduce people in the moment without creating a permanent directory. If a person wants to continue privately, let them exchange details directly or use the event’s approved opt-in route. Keep collection and access narrow enough that staff can explain them plainly.
7. Offer a specific next step after the event
A follow-up should refer to an actual event moment: the topic discussion, a public session resource, the date of the next open gathering or a question participants asked. Tell people what the next step is and whether it requires joining a continuing group. A broad “join our community” message gives little guidance if the space, owner or schedule is unclear. Send a follow-up only through the event’s approved contact route and within the choices attendees made; do not add everyone to a persistent group because they bought a ticket.
If a hosted group will continue, name the moderator, joining process and current purpose before inviting people. If the event ends without an ongoing space, say so and provide the ordinary event updates or next public event page instead. Assign an owner to close broken links, stale times and unanswered questions. A first event may be a complete experience in itself; optional continuation should be a clear opportunity, not a condition of being a valued attendee.
8. Review the path without promising retention
Decide in advance which small signals answer operational questions. Were first-timer instructions found? Did the host arrive? Was the entry point open at the advertised time? Did attendees ask the same access question repeatedly? Did anyone choose the non-app route? A short optional feedback prompt can ask whether the way into a conversation was clear and what information was missing. Count only what the team can collect accurately; do not infer friendship, belonging or future attendance from a headcount at one welcome table.
Review the signals by stage, not as a single conversion funnel. Low use of an activity can mean the time clashed with a popular session, its location was unclear, the topic did not fit, capacity was limited or attendees simply preferred another experience. A high count does not prove better retention. Pair counts with host notes and voluntary comments, remove identifying details from a broad planning summary, and choose one change to test at the next edition. Keep the published attendee path accurate now rather than waiting for a post-event report.
9. Put the choices together in a sample route
Imagine a two-day regional design workshop that offers one optional welcome circle before the first session. The public page says that the circle starts at 08:45 by a named information point, lasts fifteen minutes, is open to anyone new to the workshop and does not require an RSVP. An attendee can instead go directly to the opening session. A staff host has an approved list of two discussion themes, a room-change contact and a paper schedule. The event’s normal help desk remains the route for ticket or access problems.
During the first break, the host points people toward two topic tables, each with a visible topic and a stated ending time. People can listen, join, move or leave; no one is assigned a partner from registration data. Online participants can use a browser-accessible discussion link shown on the page, with a plain contact route if it fails. Afterward, a message through approved attendee communications links to public workshop resources and one optional next discussion. The owner checks each URL and then closes or updates the temporary invitation. This example is a rehearsal pattern, not a prediction of participation.
10. Run a public-path rehearsal and handoff
Before publication, have someone unfamiliar with the plan follow the path from the public event page. They should be able to find the optional invitation, understand the time and place, reach any online link, locate the named host or fallback and continue to normal event information without joining. Test on a phone, with a keyboard and without an organizer account. W3C’s event and web guidance supports using multiple communication methods and checking that navigation works for different users.[1][4]
Use the worksheet to release one approved version across the event page, attendee message, programme, host brief and information desk. Put a change owner beside every location. If a room or time changes, update the source record first, then each public channel and the host, and record when the change was observed. On event day, hosts can report what actually happened; after the event, the owner can close the temporary entry points or confirm a supported continuing route. This makes an invitation operational without making participation compulsory.
Sources and further reading
- Making Events AccessibleW3C Web Accessibility Initiative · Accessed
- Forms TutorialW3C Web Accessibility Initiative · Accessed
- Form InstructionsW3C Web Accessibility Initiative · Accessed
- Accessibility PrinciplesW3C Web Accessibility Initiative · Accessed