Create an event exhibitor directory page: profile and publish checklist
An exhibitor directory should help an attendee decide whom to visit and where to find them. A list of logos alone does little for that task. Start with approved company details, build consistent profiles, and test the page as a visitor before sharing it. The editable worksheet below records each decision and correction.
Boletolibre editorial team
Published
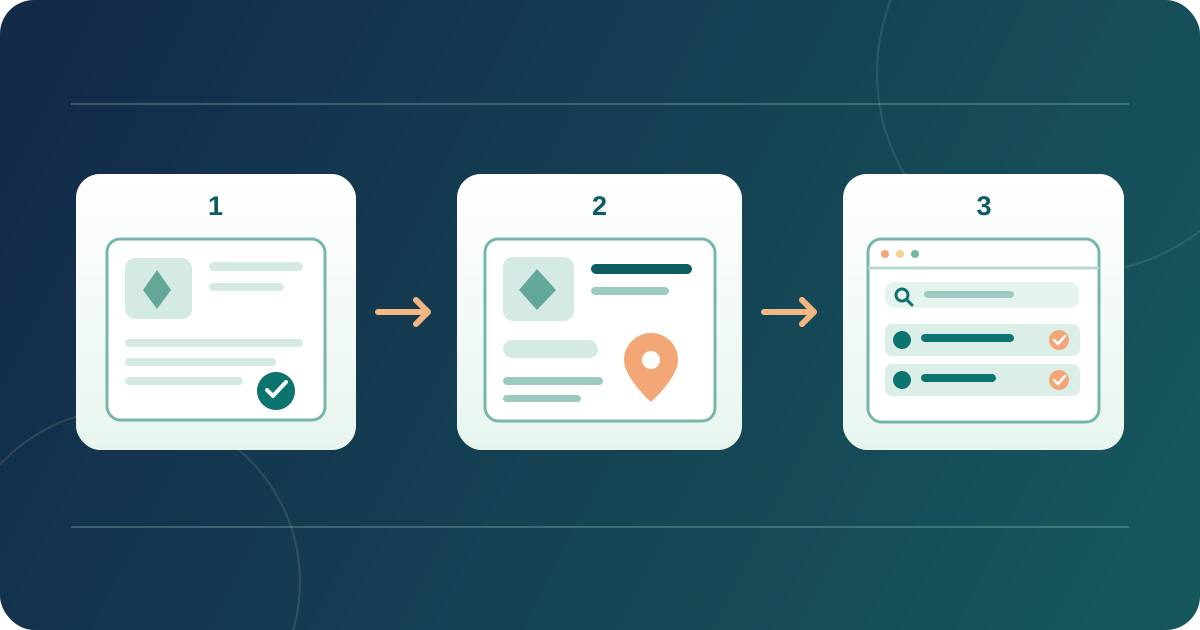
Decide what the directory must answer
Download the editable exhibitor directory worksheet (English Markdown)
Set the page's scope first: confirmed exhibitors for this event edition, with any sponsors or partners clearly labeled. Decide whether visitors need to browse by category, search by name, or locate a stand. A small exhibition may need only an alphabetical list; avoid empty filters or unsupported placement promises. Assign one person to approve public wording and another to confirm stand numbers against the current floor plan.
Keep one record per organization, marked draft, approved or published. Record the public page URL and a correction owner so a moved booth or withdrawn exhibitor has a clear update path.
Approve one useful profile per exhibitor
Ask each exhibitor to verify its display name, a short description of what attendees can find there, category, public website link and booth location. Include a contact route only if it is intended for public use. Keep staff names and setup notes from registration off the public profile. If the floor plan is not final, say that locations are pending rather than publishing guesses.
Use only an approved logo version and record where that approval is held; the website asset register can track its source and revision. Keep the company name as text even when a logo appears. If a logo alone is the link, its accessible name should convey the destination. When visible link text already names the exhibitor, avoid repeating it in the logo's alternative text.[3]
Build the attendee-facing list or grid
Choose a consistent card order: name, concise description, category, stand or area, then a clearly named website link. Link a stand to a current floor plan only when both use the same numbering. If your directory editor offers list/grid layouts, filters or visibility controls, select what serves this audience and check those settings in that product's own documentation. Platform-specific fields and image sizes vary.[1][2][4]
Keep categories few and meaningful. A category should group real exhibitors, not duplicate marketing labels. If exhibitors and sponsors appear together, identify which is which; a paid placement commitment belongs in your sponsorship record, not an improvised directory rule.
Publish, test and keep locations current
Open the published URL without an organizer login. On a phone, find an exhibitor by name or category, follow its website link and match its stand with the floor plan. Repeat with a keyboard: reach every card and link, see the focus indicator, and confirm logo-only links have an understandable name. Check at least one long name and one profile without a logo.
Record the live URL, failure, owner and retest. Before doors open, compare the directory with the final exhibitor roster and stand allocations. After a change, update the page and recheck the affected card and map reference. Do not assume an edited draft or an event-app profile has automatically changed every public page.
Sources and further reading
- Create an exhibitor list/exhibitor pageNetworkapp Documentation · Accessed
- Creating and managing the Exhibitors' pageSwapcard Organizer Studio Help Center · Accessed
- Functional ImagesW3C Web Accessibility Initiative · Accessed
- Providing link text that describes the purpose of a linkW3C Web Accessibility Initiative · Accessed