Event digital signage content plan: publish, check and update every screen
An event screen is useful only when its message is correct at the moment someone sees it. A welcome screen, room display and closing reminder may each need a different audience, source and switch time. Build a content plan around those decisions before anyone uploads files. The result should tell an editor what to show, an operator what to publish and a reviewer what to confirm on the actual screen.
Boletolibre editorial team
Published
1. Name the content owner and the approved sources
Start with one event edition, date range and venue. Name the person who owns the programme, the person who approves venue names and routes, the person who can publish to screens, and the person who checks playback onsite. These may be the same people at a small event, but the handoff still needs to be explicit. A screen editor should not have to decide whether a room move or sponsor promise is true.
List the documents that may supply screen facts: the approved programme, current room list, venue map, confirmed sponsor deliverables, registration instructions and the latest attendee page. Record each source's owner, version or approval date and link in the private worksheet. If two sources disagree, resolve the discrepancy with the responsible owner before designing the slide. Do not promote a draft spreadsheet into public truth because it is easier to copy.
Keep a separate channel for venue-directed operational or safety messages. Use the venue's approved plan and authorized team for those decisions; this guide covers ordinary event information. When Boletolibre.com carries attendee ticket details, compare its published date and admission wording with the approved screen source, without assuming that the ticket page controls the venue displays.
2. Inventory screens by zone and viewing moment
Walk the venue with the screen or AV owner and assign an ID to every display that will carry event content. Record its physical location, orientation, approximate viewing distance, audience flow, power-on period and operator. A lobby display viewed from a queue has a different job from a small room-door display viewed while people pass. Note screens that are shared with the venue or another event; confirm who controls each time slot.
Group the inventory into zones such as arrival, registration, session corridors, individual room doors, expo, catering and exits. For each zone, write one audience question that the screen should answer at that moment. Examples are “Where do I check in?”, “Which session is in this room now?” and “Where is the next break?” If a screen must answer several questions, rank them. A beautiful carousel that never displays the needed answer while a guest is looking has failed its job.
Do not use this inventory as a substitute for a physical wayfinding survey. Sign placement, approach direction, mounting and print proofs have their own venue and production reviews. Here, record only enough location detail to assign the right content and to find the display during QA. Put the public website, programme and staff script alongside the screen plan so the same room or entrance has one name everywhere.
3. Plan the message for each event phase
Before doors open, decide what a passer-by or early arrival should see and when that content expires. A welcome slide can confirm the event name, date and correct entrance; registration instructions can identify the desk and the action to take there. Check whether a countdown, ticket reminder or sponsor message is actually appropriate for this screen and audience. Keep rehearsal slides out of public playback, and schedule the first public version only after the day's facts are signed off.
At arrival, prioritize the immediate choice: correct event, check-in location, badge or ticket step, and the next useful time and place. A corridor screen can show a short route or the next session; a room-door screen can show the current and upcoming session in that room. Use the exact programme names and time zone. Do not fill every display with the full agenda when the audience only needs the next action.
During sessions and breaks, identify which facts can change: room assignment, start time, speaker, capacity wording, catering location or exhibitor programme. Plan a source and approval route for each. If the event has several tracks, filter by zone so a room corridor shows its relevant sessions. A central display can provide an overview, but it should not replace the detailed programme on the website or in an attendee handout.
At closing, decide whether exit screens should show confirmed transport information, a survey link, next-event information or a simple thank-you. Give each item an end time; a next-day guest should not see yesterday's “happening now” slide. Make a deliberate post-event state for venue-owned screens and archive the files and approvals. An expired screen loop is still a publication error even if nobody has requested a correction.
4. Write one content card for each screen state
In the worksheet, make a row for each screen ID and time block, not just each image file. Record the audience question, exact message, approved fact source, layout or asset identifier, version, language, planned start and stop, editor, approver, and fallback. Where two screens use the same asset, keep both assignments visible; a shared file does not prove that both displays received it. Use clear filenames that carry the event edition, zone, purpose and version.
Give each card one primary statement and a small number of supporting facts. For a room screen, that may be session title, start and end time, room name and the next item. For arrival, it may be the check-in destination and a concise direction. Put the core information in readable text; use a QR code or link as an optional path to more detail, not the only route to the answer. Confirm the destination and its validity period before publishing it.
Mark unresolved wording as internal, with a named owner and due time. Do not put placeholder prices, draft sponsor logos, unconfirmed speaker names or a guessed room change into the loop. If a partner has an approved display slot, link to that deliverable and its approved asset. Keep commercial content distinct from practical navigation so the latter is not hidden by a long rotation.
5. Design for a glance, then inspect the real display
Build layouts from the venue's actual screen ratio and playback system specifications. Use large, plain type, short lines, a stable reading order and a clear difference between current and upcoming information. Test the slide at the distance and angle from which guests will see it. A laptop preview cannot reveal a cropped edge, glare, a pillar in the sightline or text that becomes too small in a busy hall.
Use strong text/background contrast and do not rely on color alone to distinguish a changed room or time. W3C's contrast technique applies to technologies that produce visual output, but a numeric web threshold is not a promise that a venue screen will be legible at distance. Check the final screen under event lighting. If the same information also appears as an online graphic, provide the essential facts in web text and an appropriate text alternative there.[4]
Motion needs a reason. If several slides rotate, measure how long a guest has to wait for the needed instruction and whether the text can be read before the next slide. Preview any video with the intended audio state and do not let animation cover a practical instruction. Use the worksheet to record what the real display showed, not merely that the design file passed review.
6. Build a timed publishing schedule
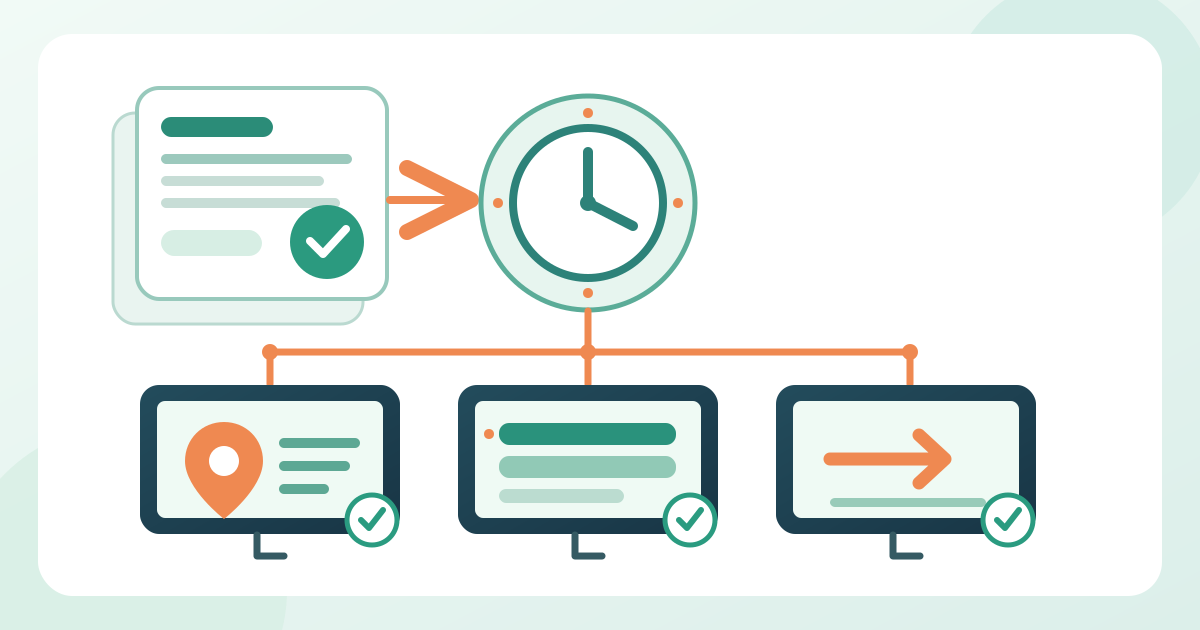
Turn the content cards into a schedule by date, local time, zone and screen ID. Include setup, arrival, sessions, breaks, closing and post-event states only where they apply. Record whether the player uses a calendar, playlist, manual switch or another method, and who executes the change. Vendor scheduling features vary; for example, Yodeck documents calendar entries with start and end times and a separate step to assign and push the schedule to screens. Use your own supplier's instructions for the actual controls.[1]
Check time zones, daylight-saving effects where relevant, and any difference between the venue clock and the content system. Explicitly resolve overlaps: if a session runs late, which slide remains on a room door, and who may extend it? If a time block has no assigned content, decide what the screen should display. Do not assume an empty interval automatically returns to the safest message; inspect the platform's default or filler behavior.
Freeze an approved baseline before the event. Give every scheduled item a content version and a named publisher. Keep the next-day schedule separate enough that yesterday's update cannot silently carry forward. Use a rehearsal window to step through transitions on the actual devices, including an early switch, the boundary between two sessions and the final stop time. Record defects by screen ID and time, then rerun only the affected transitions after a fix.
7. Assign, push and observe the publication
Uploading a file is not the same as displaying it. For each row, record when the approved version was assigned to a player or group, when the operator issued the publish action, and when an onsite reviewer observed the expected content. One platform's documentation distinguishes saving an assignment from pushing it to a screen; other products use different words and controls. Treat the physical playback check as the completion signal, not a green status in the editor alone.[2]
Walk a representative path from entrance through each zone. Match the screen ID on the worksheet to the physical device, then check orientation, crop, legibility, current time block, links or QR destinations, and the programme facts. For a large venue, sample each shared layout and still inspect every unique assignment or exception. If the loop rotates, stay long enough to see the full sequence and note the time of observation.
Keep a defect log with expected content, observed content, screen ID, time, screenshot or note, owner and retest result. Distinguish a wrong file from a correct file assigned to the wrong screen, a delayed update and a display that is off. Fix the source or assignment that caused the mismatch, then confirm playback again; replacing a preview image without checking the device leaves the attendee-facing error unresolved.
8. Control live changes and cross-channel consistency
When a confirmed programme fact changes, open a change record: old value, new approved value, approving person, effective time, affected screens and other channels. Decide whether the update is urgent for the audience currently in front of a screen or can wait for a planned transition. The screen editor should receive the exact approved wording. A vague request to “fix the agenda” invites one device or language to keep the old information.
Update the source programme and the channels that depend on it, including the event page, staff script, programme file and relevant screens. Assign a new content version, publish to every affected ID, and observe at least the changed state on each distinct zone or device configuration. Log when the old version actually disappeared. A changed website does not automatically change a screen, and a changed screen does not notify someone who saved a previous programme.
If a sponsor asset or session title is replaced, check its entire rotation and expiry as well as the single edited slide. Keep an owner for translations; room names, times and calls to action must be checked against the same approved fact in each published language. Close the change only when the responsible onsite person knows which version is live and where a remaining mismatch is being handled.
9. Prepare for stale, unavailable or disconnected screens
Ask the AV or venue team what the chosen player actually does if it loses its connection, misses a scheduled update, restarts or cannot load a web-based element. Do not assume that “offline capable” means current information remains correct. Yodeck, for example, documents cached playback for some media while web pages and live streams do not work offline; its updates require an internet connection. This is a product-specific example, not a guarantee for your venue.[3]
For each important display, name a fallback that the venue team has approved: a static information slide already available on the device, a printed notice, a staffed desk, or a link on the public page. The fallback must use facts that stay valid for its intended period. Record who can activate it, how the team knows it is in use and how to retire it. Critical venue or emergency instructions belong to the venue's separate approved plan and authorized staff.
Rehearse one missed update and one unavailable screen before doors if practical. Verify that staff know where the current source lives, which audience is affected and who can correct the display. If the system cannot confirm a new version reached a screen, send someone to look; do not announce that every screen is updated based only on a dashboard action.
10. Hand over the live plan and close it cleanly
Give the onsite editor and zone leads a concise handover: live schedule, screen IDs, source links, approved baseline version, change contact, fallback owner and the latest observation results. Put unresolved defects where the next shift will see them. During the event, use the worksheet as a working record rather than a once-approved PDF; a timed plan is only useful when actual playback and changes are logged beside it.
After the last public block, confirm the screens show the agreed closing state or return to venue control. Archive the approved assets, schedule, source versions, change records and defects together. Note which audience questions appeared repeatedly at desks or in corridors; they can improve the next edition's content plan. Reconfirm venue hardware, programme and partner agreements before reusing any screen file.
Sources and further reading
- How to Create a Schedule with YodeckYodeck Documentation · Accessed
- How to quickly assign content to your ScreensYodeck Documentation · Accessed
- Does Yodeck work offline?Yodeck Documentation · Accessed
- G18: Ensuring that a contrast ratio of at least 4.5:1 exists between text and backgroundW3C Web Accessibility Initiative · Accessed