Event signage print-proof approval checklist and sign-off sheet
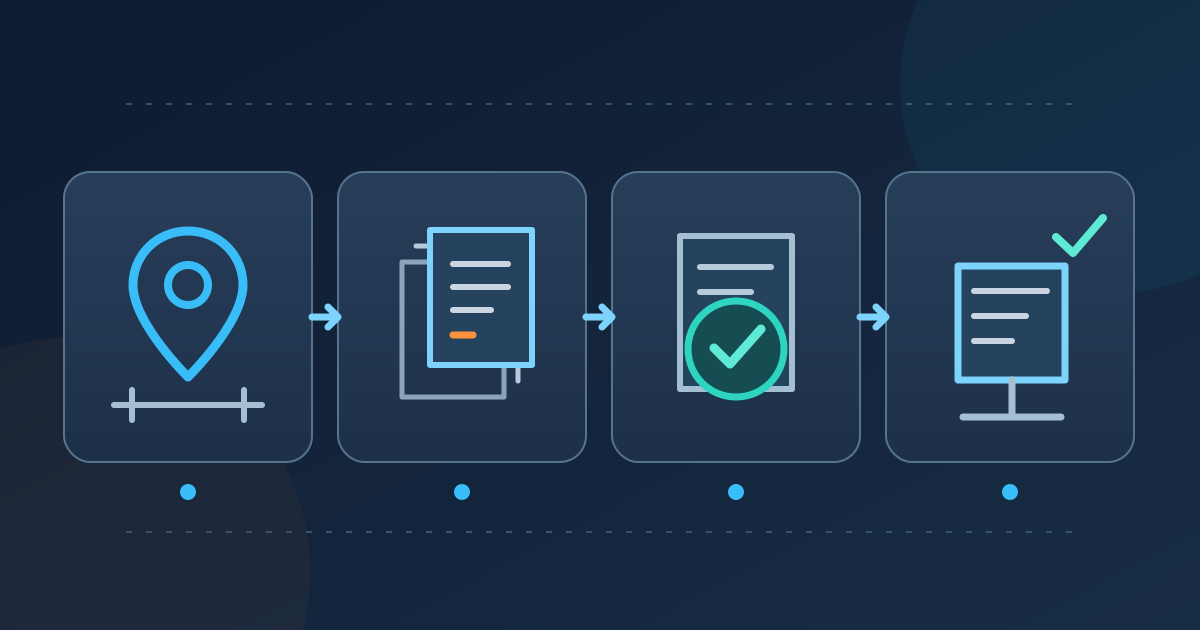
An approved sign location is not an approved print file. A room can change after the map is drawn; an old QR code can survive in a polished proof; the right design can reach the printer with the wrong quantity. This workflow links each event sign to its approved facts, exact artwork revision, production decision and delivery.
Boletolibre editorial team
Published
Download the sign-by-sign proof and approval sheet
Download the event signage proof and sign-off sheet (Markdown, English)
The editable Markdown sheet gives each sign an ID, location, approved wording source, artwork filename, proof revision and decision. It also includes a correction log, production release card and receipt check. Copy it for one event and use separate rows for variants that differ by language, arrow, room or size. The row records a review decision; it does not prove that the printer accepted the order.
Use this after planning sign locations and routes. Emergency, fire, traffic, accessibility and other required signs need the venue's or competent local specialist's approval process; this general worksheet does not certify them. Keep the approved site plan and sign register as the reference for placement.[4]
Connect every sign to a location and current source
Give each physical sign or variant a stable row. Record its map ID, approach direction and required installation phase. Similar-looking signs may need different arrows, dates or room names; do not approve them as one generic design. Keep print quantity separate from the number of artwork files.
Link each fact to the current programme, room list, ticket information or approved site plan. Record the source's version or approval date, since a live document can change. Leave undecided names or routes pending rather than asking the printer to choose. The HSE describes an updated, referenced event site plan as a way to communicate locations to contractors.[4]
Agree with venue and printer who confirms dimensions, material, mounting and the installation position, and who may change the order. The organizer checks content against approved facts; the printer confirms production specifications in the written job summary. A PDF is not the whole order. For a multi-location order, decide who resolves mismatches between the print list and venue map before production.
Check the words and destinations a guest will use
Read every sign from its mapped approach. Check event name, date, local time, venue, entrance, room, ticket or queue label and arrow against the approved source. Make sure the arrow works from that position and destination names agree with the programme, ticket page and neighbouring signs.
Test QR codes or short links from the actual proof when possible. Confirm the intended live destination; log its URL and test date. A code from an earlier draft can point to an outdated checkout. A printer's proof guidance calls for checking codes and links alongside names and numbers.[1]
Have the owner of attendee wording review translated variants. For a promised step-free route or other venue-dependent service, get the venue's confirmation of what exists. Keep the sign pending when its factual source is uncertain, regardless of how polished the artwork looks. Do not silently reuse a prior edition's room numbers, prices or check-in instructions.
Compare the artwork with the actual print instruction
Compare the proof with the print brief: sign ID, finished size, orientation, sides, quantity, material, finish and delivery location. Ask which details appear in the proof and which are confirmed only in the job specification. A PDF supports visible copy and layout review but cannot establish the final material, finish or colour; Adobe documents limits of on-screen output preview.[1][3]
Inspect the whole sign, then details at intended size or an agreed scale. Check edges, bleed or trim according to the printer's specification, images, logos, accents, arrows and room numbers. Judge contrast in the planned setting. Do not invent a universal minimum font size or resolution; ask the supplier what this product requires.[1]
Across variants, compare repeated dates, venue names, logo versions, languages and QR destinations. Changing an arrow must not accidentally mirror text or branding. The sign plan decides placement; this review checks that the printed object matches that decision.
Keep revisions separate from production approval
Record corrections against sign ID and proof filename: location on artwork, current content and replacement. Request a newly identified proof. Do not say 'approved' while corrections remain open. Mixing several signs and revisions in one message can obscure which attachment is final.[1]
Compare the replacement with the prior PDF to catch requested and unexpected changes. Acrobat Pro's Compare Files tool reports differences, but it does not replace reading the new proof. Recheck corrected facts, linked codes and the complete layout; a small edit can move or crop other content.[2]
Use explicit statuses: draft, corrections requested, new proof received, content approved, specifications confirmed and released. Name the content reviewer and person authorized to release production. Link any separate venue or specialist sign-off instead of treating a general organizer checkmark as that approval.
Release one named version and check the handoff
Send one release naming the approved filename and revision, sign IDs and quantities, accepted job specification or quote, delivery destination and required in-hand date. Ask the printer to acknowledge what it will produce. For a late change, pause affected rows and issue a revised release rather than overwriting an approved file.
At delivery, compare package count and sign IDs with the released order. Note damaged, missing or wrong variants and assign an owner. Give installers the final map and approved ID list. A production approval applies to the named version only; later programme changes need a new decision about replacements.
Worked example: a room changes before printing
Suppose Workshop B moves from Room 204 to Room 310 while six directional signs are being prepared. The owner pauses affected IDs, checks the approved programme and site map, and asks the venue to confirm the new route. The designer revises the affected proofs; unchanged signs and quantities remain visible.
The reviewer checks each room name and arrow from its mapped approach, tests the QR destination and records the exact revision. The producer releases those files with an updated list and obtains printer acknowledgment. On arrival, the team counts new variants and prevents superseded Room 204 signs from being installed. That is clearer than a vague request to 'use the latest file'.
Sources and further reading
- Print Proof Checklist: 12 Checks Before You Approve ProductionSeri Jadi · Accessed
- Compare two versions of a PDF file in Adobe AcrobatAdobe · Accessed
- Preview output (Acrobat Pro)Adobe · Accessed
- Venue and site designUK Health and Safety Executive · Accessed