How to choose event wristbands: match material, access and replacement
A wristband may identify an attendee at a glance, but its material does not define the ticket rights. Choose a band after deciding how long guests will wear it, what zones it represents, whether staff scan it, and what happens when it is damaged or lost. Try real samples before ordering the full quantity.
Boletolibre editorial team
Published
Start with the job, not the catalog
Write down the event duration, indoor or outdoor exposure, age range, accessibility and comfort needs, number of access groups, and whether the band is a visible marker, a scan credential or both. BOTT’s first-ranking supplier guide lists duration, material, information and comfort as selection factors. Use those as questions for your own event, rather than accepting its claims that a wristband is always faster or more secure than a ticket.[1]
| Sample | Short event | Multi-day wear | Closure and print test |
|---|---|---|---|
| Tyvek-style | Trial for comfort and readability | Trial actual wear period | Check tamper evidence and printed code |
| Vinyl or plastic | Assess whether needed | Trial water, fit and closure | Check seal and replacement |
| Fabric | Assess comfort and cost | Trial fit and clasp | Check whether closure is reusable |
DuPont describes its Tyvek wristband material as light, water resistant and tear resistant, with security cuts on some designs. That is material information, not a warranty for a particular supplier’s closure, adhesive, print or wear duration. Compare actual samples under expected conditions.[2]
Define exactly how a band is issued
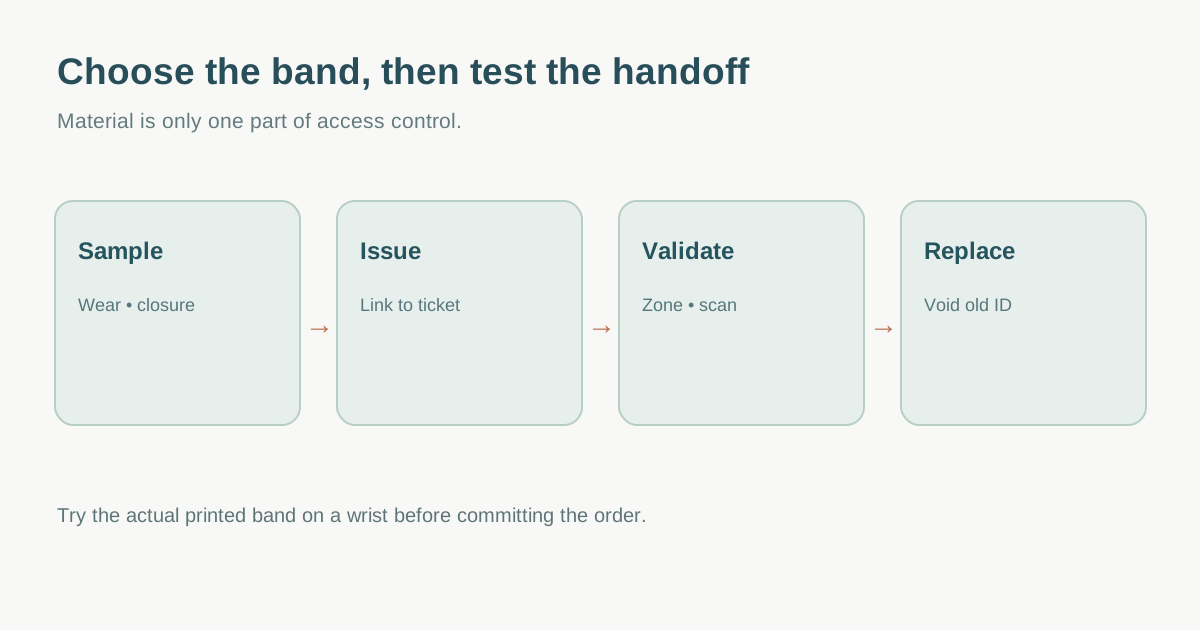
Decide whether the band is fitted after a valid ticket scan, collected at a separate desk, or posted in advance. Map one band or band ID to one entitlement and record who can issue it. Keep spare bands under a named custodian, count issued and unused stock, and brief staff on which color or marking belongs to each approved zone. A color may help a steward, but the current ticket record should decide access where the system requires scanning.
Only print information that the gate needs. Avoid putting a child’s name, guardian phone number, disability detail or other sensitive information on a visible band by default. Use the event’s separately reviewed safeguarding and privacy process for any identification need. Make labels legible without relying on color alone, and test the scanner on the worn band if it carries a code.
Prepare the lost, damaged and removed-band path
A guest may arrive with a torn band, an unreadable code or no band. Give support staff a way to verify the original order and current status privately; if the band is linked to a unique digital credential, invalidate or replace it according to provider capability before issuing another. Record old and new identifiers and the staff decision. Do not treat a replacement as an extra admission.
Train staff to handle fit or skin-comfort problems without assuming misuse. Decide whether an alternative credential is available. A tamper-evident closure can reveal removal, but it cannot prove who wore the band or that every gate transaction was recorded. UK HSE notes that ticket/wristband counting systems can help estimate attendance, alongside other monitoring; they are not a substitute for the site’s crowd-management plan.[3]
Download the wristband sample, issue and replacement worksheet (Markdown, English)
Sources and further reading
- Event Wristbands – A Comprehensive Guide to Choosing the Right OneBOTT · Accessed
- Tyvek wristbandsDuPont · Accessed
- Monitor the crowdUK Health and Safety Executive · Accessed