How to set up check-in for individual conference sessions
A conference badge scan at the main entrance does not show who attended each breakout session. Set up session check-in after deciding what each session record must prove and which process, if any, controls room entry. Test the chosen method before staff rely on the count.
Boletolibre editorial team
Published
Define the record and eligibility rule
Download the session check-in preflight worksheet (Markdown, English)
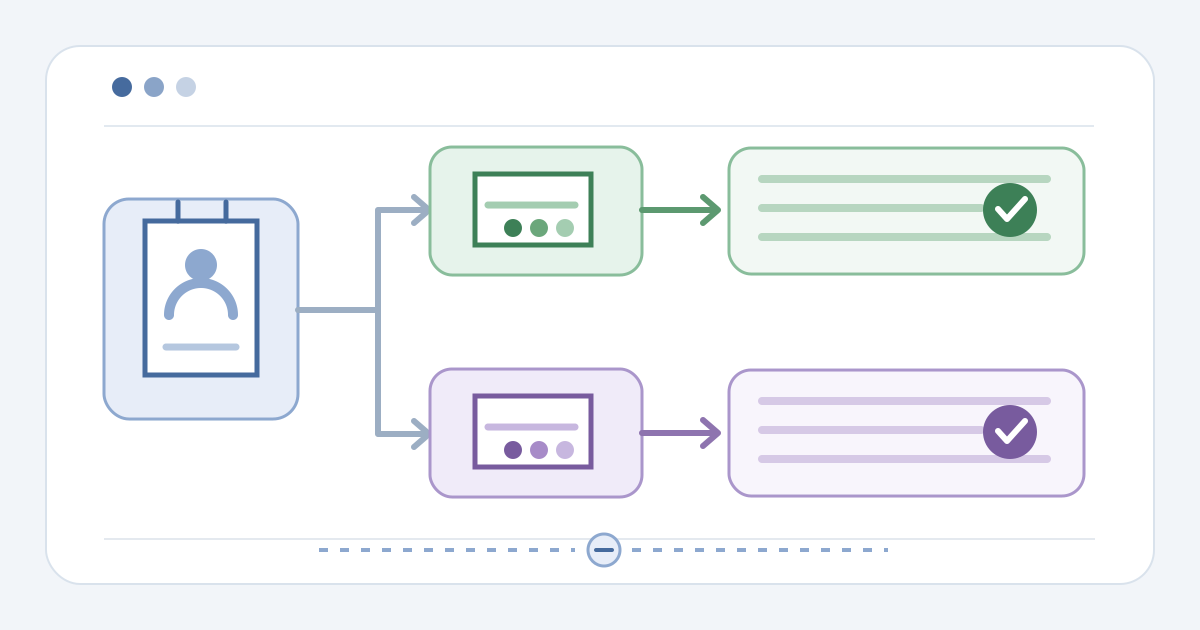
List each session by exact date, start time and room. Identify its roster source, whether registration is required, who owns any capacity limit, and the attendance outcome you need. Decide whether the room team is recording participation, controlling access, or both. Assign an exception owner who can resolve mismatches without improvising at the door.[1]
Treat attendee self-check-in carefully. Cvent says its Event App session check-in records participation but does not provide access control, checkout, payment compatibility or advanced logic. Its guide also says an unregistered attendee who checks in is registered for that session, overrides registration rules, and can have fees added to their balance. Use a separately approved access process when those controls are required; check the side effect in a safe setup.[1]
Choose the mode, window and station
Decide whether staff will scan at each room or attendees will check themselves in. Configure only the sessions that need it. Set the code or QR display, scanner, responsible operator, open and close window, and repeat-check-in rule in the actual provider. Confirm every device is assigned to the intended session at shift start and after room changes.
Provider controls vary. Cvent Event App offers a session code or displayed QR and a configured self-check-in window. Webex Events Onsite documents per-session single, multiple or checkout-required modes, with optional access and location-capacity settings. Eventee requires session check-in to be enabled before staff select a specific session in its app. A control visible in one provider is not evidence that another has it.[1][2][3]
Rehearse cases that change the result
Use authorized sample records, not live guests, to test a registered attendee, someone registered for another session, someone not registered, a repeat attempt, and a station pointing at the wrong session. Record what happened to both the session roster and event-level attendance. If a case changes registration or balance due, stop and resolve the setup before using it with real attendees.
Where the provider offers capacity or eligibility rules, verify that the selected mode enforces them. A check-in mark alone does not prove permission. Webex documents track, personal-agenda and location-capacity options in Onsite; Cvent's Event App self-check-in explicitly lacks access control. Rehearse the exception path for a missing code, device failure or disputed entitlement.[2][1]
Verify the session record and hand off
Open the authoritative record for the exact session after the rehearsal. Confirm permitted samples have the expected participation state, wrong-session attempts did not enter the wrong roster, and duplicate attempts produced the chosen outcome. If counts are shown, compare them with the sample actions. Check event admission separately; session participation does not prove venue entry.
Before opening, give each room operator the session reference, active mode, window, device or display owner, escalation contact and approved fallback. Leave unresolved results with the exception owner and keep the affected station paused. At shift change, recheck the selected session and current settings before scanning resumes.
Sources and further reading
- Configuring Session Check-In for Your Event AppCvent Knowledge Base · Accessed
- Configure Sessions for Session Check-inWebex Help Center · Accessed
- How does session check-in in the check-in app work?Eventee Help Centre · Accessed