Create an online exhibitor manual for your event: page and task checklist
An exhibitor manual is the working route from a confirmed space to an event-ready stand. It should answer what an exhibitor must do, when, where, and whom to ask. Treat it as an operational resource for confirmed exhibitors and their teams. The public exhibitor directory serves attendees and should not expose setup contacts, draft allocations, or private instructions. Use the editable manual skeleton below to assemble your event’s verified facts before placing them on a web page.
Boletolibre editorial team
Published
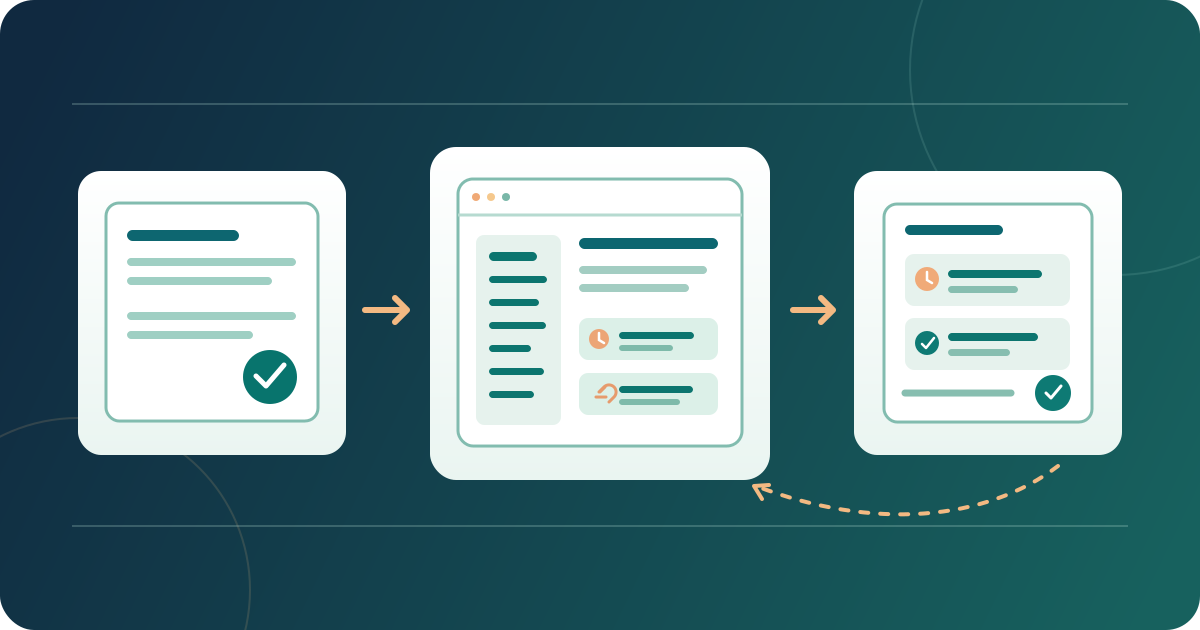
1. Set the audience and the source of truth
Download the editable exhibitor manual skeleton and action-link worksheet (English Markdown)
Decide who may read the manual: the primary exhibitor contact, their stand team, approved contractors, or a combination. Confirm the access method with the system owner before promising an open link or a login. A small event may use one accessible web page; a larger show may need a short index leading to separate pages. Either way, designate one current edition and URL. Record the event name, dates, venue, manual owner, revision date, and an address for questions at the top.
Keep the manual separate from the application form and the attendee-facing exhibitor directory. Registration asks a company to apply or provide details; the manual tells a confirmed exhibitor how to prepare. The directory helps visitors find exhibitors. If Boletolibre.com handles attendee ticket sales, label that checkout as an attendee route, not as the destination for booth tasks. The manual can link to the appropriate exhibitor systems only when those destinations are confirmed by the organizer.
2. Gather approved event and venue inputs
Ask the operations owner for the current floor plan, stand identifiers, access windows, delivery route, and build and removal instructions. Ask each service owner for the actual order route, what is included in the exhibitor package, its deadline, and the contact for exceptions. Record the source document or decision beside each fact in the worksheet. A room change, revised loading slot, or new service URL should have an accountable owner rather than a copied note with no provenance.
Do not turn a sample from another show into your own venue rule. Mark unknown dates, dimensions, charges, and requirements as awaiting confirmation in the internal draft. Before publishing, reconcile the manual with the signed exhibitor package and the venue’s current instructions. Link to the venue’s authoritative rules where appropriate, and route questions about technical or safety requirements to the responsible venue or event specialist. Remove any placeholder that a reader might mistake for an approved instruction.
3. Make the online manual easy to navigate
Group content around exhibitor questions: before arrival, arrival and unloading, stand setup, show days, services and orders, badges and staff, promotion, removal, and help. Put the nearest deadlines and current contact routes in an at-a-glance panel. Use a contents list with descriptive links to the corresponding sections. Repeat the event edition and last-checked date where someone may enter from a forwarded deep link. Keep instructions in text even when a diagram or short video helps explain a route.
Give each section a clear heading, short paragraphs, and link text that says where the link goes, such as “Order stand power” or “View the current access map.” Avoid five links all called “click here.” If a form or file opens elsewhere, identify the destination and file type where useful. W3C’s web-writing guidance supports meaningful headings, links, and plain instructions; use those ideas so a busy exhibitor can scan the manual and a screen-reader user can navigate its structure.[1]
4. Turn each deadline into a complete action
For every required submission or order, state who should act, exactly what to provide, the verified deadline with its time zone, the destination URL, and the owner who can answer questions. Distinguish a required action from an optional service or a task that applies only to a particular stand type. Link to the precise form or ordering page rather than the provider’s home page. If completion depends on an approval or payment, describe only the sequence confirmed by that process owner.
A useful task card can read: “Stand lead: submit the approved fascia name by [confirmed date and time zone] at [verified form URL]; contact [event team route] if the form fails.” Fill those brackets only from current records. Where you control a form, label required and optional fields, accepted formats, and any time limit before submission. W3C’s form guidance calls for those instructions to be available to people using assistive technology. The worksheet records each link’s test date and the person who checked it.[2]
5. Deliver the right version to the right people
Check that every confirmed exhibiting company has the current manual URL and knows who on its team is expected to act. Ask for the working contacts for stand operations, deliveries, and service orders when those roles differ; a single sales contact may not own all three. If access is restricted, test what an authorized team member sees after signing in and how a new teammate gains access. Do not send a private manual link to the public directory by mistake.
Send a short introduction that names the edition, the highest-priority confirmed dates, the main action index, and the question route. Do not claim that a delivered email proves the manual was read. Record who received the notice and follow up through the organizer’s approved channel when an important task remains unresolved. Keep the URL stable if practical, but make the revision date visible so a saved message does not conceal a later change.
6. Rehearse the published path on a phone and keyboard
Open the exact URL an exhibitor will receive, using an account with the intended access level rather than an organizer session. On a phone, find the unloading route, the next deadline, a service-order form, and the help contact. Check that long names and tables fit, and that a linked floor plan is legible or has a usable text explanation. Open each critical external URL and verify that it lands on the current event and correct action, not an old edition or a generic login page.
Then navigate with a keyboard: move through the contents, task links, forms, and contact route in a sensible order, and make sure the focused control is visible. W3C explains why visible focus matters for keyboard users. Check a page with a missing optional service, a late stand allocation, and a new team member’s access. Log each failure, owner, correction, and retest result before sending the manual widely.[3]
7. Publish changes and notify affected exhibitors
Keep a change record with the old instruction, new instruction, source, approver, publication time, and affected exhibitors. A changed build window, entrance, stand assignment, or order deadline may require more than a silent web edit. Update the source page, retest the affected links and mobile view, then send a direct notice through the event’s approved communication route. State what changed, who it affects, and where the current instructions live; do not rely on an old attachment being replaced in someone’s inbox.
Before event opening, compare the manual with the final venue plan and service list. Retire superseded files or clearly label them as past editions, and ensure deep links from reminder messages still lead to current instructions. During the event, assign a person to answer manual questions and record corrections. Afterward, keep a clean copy of the final edition and change log for the next organizer, without carrying this show’s dates and venue rules forward as if they were evergreen.
Sources and further reading
- Writing for Web AccessibilityW3C Web Accessibility Initiative · Accessed
- Form InstructionsW3C Web Accessibility Initiative · Accessed
- Understanding Focus VisibleW3C Web Accessibility Initiative · Accessed