Paid social ads for events: pre-launch checklist
An event ad can spend money even when the registration page is wrong or the ticket flow is closed. Use this pre-launch gate before enabling a paid social campaign. It focuses on whether the event and measurement are ready, not a particular platform’s button sequence or a promised return. Platform features, policies and privacy rules change; confirm the current settings and applicable local requirements before spending.
Boletolibre editorial team
Published
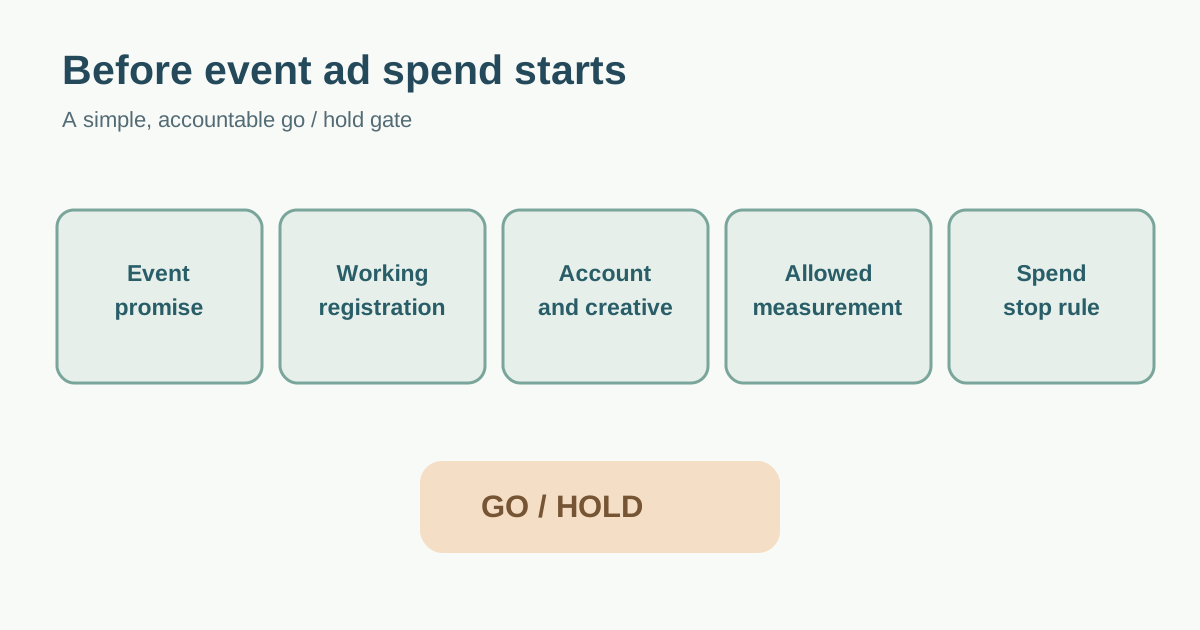
Download the go/no-go gate
Download the event paid-social launch gate (Markdown, English)
The worksheet records the destination, owner, evidence and decision for each gate. The direct Google results mixed a general campaign checklist with a Meta setup checklist; an event-specific agency guide added landing page and registration checks. This article keeps the practical pre-spend checks and leaves out that agency page’s unsupported conversion multipliers, fixed budgets and universal timelines.[1][2]
Verify the event offer and landing path
Open the ad’s final URL on a phone and a desktop using the audience’s expected language. Confirm the date, timezone, venue or online access, price and fees, capacity or availability, accessibility information and registration action. Walk through the actual signup or purchase flow using an approved safe method and confirm the resulting confirmation. Do not launch an ad for a cancelled, sold-out or unpublished event. If ticketing is handled by another platform, agree who can fix a broken checkout and who pauses the ads.
| Gate | Pass evidence | If it fails |
|---|---|---|
| Event promise | Ad, landing page and checkout show matching facts | Correct the source and ad before launch |
| Registration | Mobile completion and confirmation checked | Hold spend; route issue to ticketing owner |
| Account and policy | Authorized ad account, current standards and creative review | Fix access or claims before submission |
| Measurement | Allowed tracking or a documented no-tracking plan | Do not silently install tags |
| Spend control | Owner, cap, review time and pause authority | Do not enable campaign |
Check the account, audience and creative
Confirm the intended Page/account and the people authorized to manage ads, billing owner, payment readiness, campaign objective, target geography and language. Meta’s own Business Suite checklist starts with portfolio/ad account permissions, current advertising standards, objective and audience choices, creative technical requirements and performance review. If you use another platform, review its equivalent current documentation. Do not copy an old campaign’s targeting or exclude a protected audience without review.[1]
Read the image, video and copy on the actual placement preview. The ad should state what a registrant gets, not promise attendance, outcomes or scarcity you cannot support. Check every language and linked destination. Decide who approves changes and who responds when a venue, speaker, date or price changes.
Confirm measurement and privacy boundaries
Choose the measure before launch: completed registration, confirmed ticket purchase or another real event outcome. A click, event response or landing-page view is not the same as a paid ticket. Test only the measurement you are authorized to use and document any limitation. Avoid sending sensitive registration fields to ad platforms. For UK audiences, ICO guidance says advertising storage/access technologies require consent; other jurisdictions may differ. Have a qualified privacy owner review the actual tags, server events and audience lists before activation.[3]
If you cannot lawfully or reliably track conversions, document a conservative alternative such as first-party registration counts and a labeled campaign link. Do not claim precise ad-attributed sales from a broken or incomplete signal.
Set spend limits and a stop decision
Write the authorized total budget, platform cap, start and end dates, timezone, review owner and who can pause immediately. Choose a review interval appropriate to the event’s deadline and spend, rather than adopting a universal daily amount or a fixed seven-day schedule from a vendor blog. Record the first review time before launch.[2]
Pause for a broken registration flow, wrong public facts, withdrawn creative permission, policy rejection, an exhausted budget or an event cancellation. Keep a short change log tying each correction to the ad and landing page. After launch, compare actual registrations and cost with the event’s own goals, while being honest about attribution gaps.
Sources and further reading
- Getting started checklist for creating ads in Meta Business SuiteMeta for Business · Accessed
- How to Launch Event Ads That Drive Real RegistrationsA&T Agency · Accessed
- How do the rules apply to online advertising?UK Information Commissioner’s Office · Accessed