Event venue step-free route checklist and inspection worksheet
“Step-free venue” is not a route description. An attendee still has to get from the chosen arrival point through the event entrance and check-in to the activity, restroom and way out. A temporary cable cover, queue barrier or locked lift can change the usable route on event day. Walk each route with the venue’s accessibility lead, record what you see, and publish the verified approach and contact point. This worksheet organizes observations; it cannot certify legal compliance or replace a competent local assessment.
Boletolibre editorial team
Published
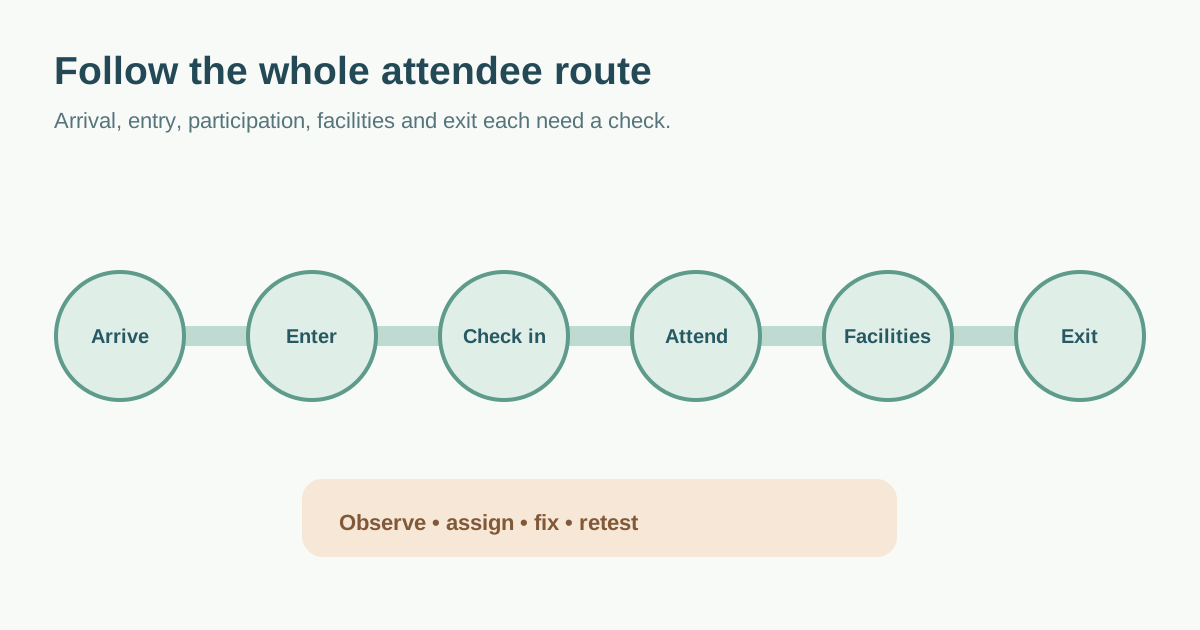
Draw the route people will actually use
Start at every relevant arrival choice: transit stop, accessible parking, passenger drop-off or the public sidewalk. Trace the continuous path to the entrance used for this event, then to security, ticket check, seating or activity space, toilets, refreshments and the expected exit. If a backstage or speaker route is relevant, inspect it separately. The U.S. Access Board describes accessible routes connecting site arrival points to entrances and accessible spaces; those ADA details apply in the U.S., so use local rules and qualified venue review for your location.[2]
Do not assume the building’s main accessible entrance is the event entrance. Verify the real door, hours, staff coverage and any intercom or key requirement. The first Google result from USC also checks entrances, elevators, restrooms and pathways, but its U.S. seating numbers are not a universal planning rule.[1]
| Route segment | Evidence to record | Decision owner |
|---|---|---|
| Arrival to entrance | Actual starting point, surface, crossing and usable door | Venue accessibility lead |
| Queue and check-in | Barrier layout, temporary equipment, staff assistance path | Front-of-house lead |
| Inside circulation | Way to seat, stage/activity and facilities | Venue operations |
| Return and exit | Operating route at event close and any changed gate | Venue and event lead |
Record barriers in the open and crowded configurations
Walk the route before build, after temporary structures and cables are installed, and with the event queue and furniture layout in place. Note level changes, uneven or soft surfaces, slopes, thresholds, heavy or locked doors, lift availability, narrowed turns, protruding objects, and whether people can locate the route. A clear path on an empty floor plan may disappear when registration tables or sponsor displays arrive.
Photograph or describe the specific location for the internal issue log, but do not publish sensitive access details unnecessarily. Record who can fix it and by when. If a barrier cannot be removed, ask the venue accessibility lead to approve a genuinely usable alternative and make it easy for attendees to find without making them search for staff. Do not improvise ramps, lifts or structural changes without qualified review.
Check that the route reaches the event experience
A route is incomplete if it ends at an entrance but not at the ticket desk, seating, accessible restroom or main activity. Check sightlines and companion arrangements with the venue plan, as well as access to food and information points when offered. A location may support one mobility aid and not another; ask the venue team and affected attendees what details they need rather than relying on an “accessible” checkbox. USC advises considering pathways, room arrangement and restroom access together.[1]
Confirm that staff know the route and can explain it consistently. If the route uses a different door, publish that door’s name, map location, opening hours and help contact. Keep event-specific adjustments private when they concern an individual’s request; publish only the general route facts attendees need.
Assign each barrier a fix and a retest
For each segment, record observed condition, whether it blocks the planned route, agreed mitigation, owner, due time and retest result. A promise that “staff can help” is not the same as an open, navigable route. If a lift or door is essential, name who checks its operation before doors open and who handles a failure during the event.
Ask the venue’s competent access and safety leads to review the final route alongside emergency arrangements. Normal step-free entry and an approved evacuation plan are different questions; this worksheet does not approve emergency egress. UK HSE treats arrival, onsite circulation and departure as separate crowd-management phases, which is a useful operational prompt even outside the UK; apply local safety requirements.[3]
Publish the verified access information and keep it current
Before ticket sales or the final attendee reminder, provide a plain-language route description: starting point, correct entrance, any unavoidable change of level, lift or door dependency, nearby facilities and a contact for questions. Include a simple map or photo if useful, and offer an accessible text version. If the route changes after build or during the event, update signs, staff briefing and attendee information together.
At closeout, keep the worksheet with the venue plan, record any temporary barrier or failed mitigation, and revisit the route for the next event. The downloadable sheet makes the path and owner visible without inventing a universal pass/fail measurement.
Download the step-free route inspection worksheet (Markdown, English)
Sources and further reading
- Accessible Event ChecklistUniversity of Southern California · Accessed
- Guide to the ADA Accessibility Standards: Accessible RoutesU.S. Access Board · Accessed
- Put crowd controls in placeUK Health and Safety Executive · Accessed