Publish a venue floor plan on an event website: room index and visitor checks
A venue floor plan helps attendees find rooms and public zones once they are inside the site. It has a different job from a street map that gets them to the entrance. Start with the venue’s approved public plan, then choose a display that your website can support and give the same essential room information in text. Test the page as an attendee before sharing it.
Boletolibre editorial team
Published
Confirm the public plan and its owner
Download the floor-plan page and room-index worksheet (English Markdown)
Ask the venue contact for the current attendee-facing floor plan, its version or issue date, and the public room and zone names. Confirm which entrance and level names visitors should use. Do not publish a staff operations drawing or assume an internal floor plan is ready for public display. Record who will approve a replacement image if the venue changes a room assignment.
Make a short location list before drawing pins: public name, level or zone, session or service served, and the source that confirms it. If the plan shows an accessible route or entrance, verify that specific wording and path with the venue owner. The diagram alone cannot establish accessibility, capacity or emergency arrangements. Keep those decisions with their responsible teams.
Choose a supported display method
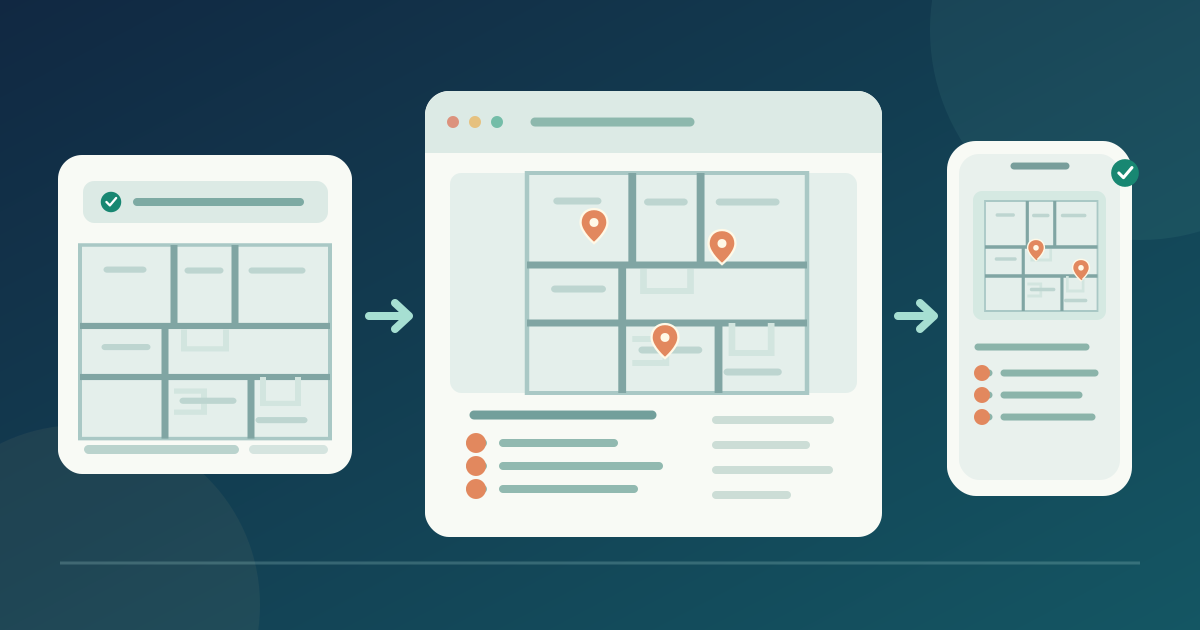
A static image with a nearby text index is a useful baseline when your editor has no interactive map feature. An interactive floor plan can add selectable room pins if the chosen service supports them. Check its current documentation for uploads, pin labels, visibility and page placement; those controls vary by provider. Neither choice requires inventing room details.
Before uploading, decide which file is the public source and where visitors will find the page. A cropped image may omit a corridor, room label or level marker, so compare the displayed version with the venue-approved original at phone width. If the editor resizes or replaces the image, recheck every pin position rather than assuming it still points to the right room.
Match every public room name to the programme
Use one stable public name for each room across the plan, room index and final programme. Link a pin or room-index entry to the relevant session only when that session page is public and current. If a hall has several entrances, ask the venue which attendee-facing name and approach are correct. A mismatched label can send someone to the wrong level even when the pin itself is placed carefully.
For interactive pins, write labels that identify the room or zone without relying on color alone. If a pin opens a detail panel, compare its text and link with the approved programme. Keep location IDs in the internal worksheet so similarly named rooms do not get swapped during edits. Do not use a pin to imply a service or route that the venue has not confirmed.
Give the diagram a useful text equivalent
Place a short text index near the floor plan: level, exact room name and what an attendee can find there. An image alternative can summarize the purpose and orientation of the plan, but a complex diagram needs equivalent information outside a single short alt attribute. W3C’s image guidance distinguishes informative and complex images and calls for a complete text equivalent when details matter.[1]
If the image has clickable areas, each needs a name that explains its destination. A written room index can also keep the page usable when the image is small, slow or unavailable. Do not turn the index into a list of every private venue space. For confirmed accessible-arrival details, link to the venue-approved route description rather than guessing a path from the drawing.[2]
Publish and check the attendee view
Open the published page signed out on a phone and desktop. Zoom the static plan or open each interactive pin, then compare its room name and level with the text index and final programme. Check that public links lead to the intended sessions. With a keyboard, reach every interactive control and observe visible focus; a pin that works only by tapping is an incomplete visitor test.
Ask someone unfamiliar with the site to locate two public rooms using the page. Note where labels, levels or mobile cropping cause hesitation, then ask the venue owner to resolve any disputed fact. Test the text index with the image unavailable. Record device, result, reviewer, correction owner and a second check after edits in the downloadable worksheet.
Keep changed rooms and plan versions in sync
If a session moves, change the programme and floor-plan page from the same confirmed room update. If the plan image is replaced, compare every old pin or link against the new version. Check any homepage shortcut, QR destination or downloadable plan that points to this page. Do not promise that a provider will update all views automatically; inspect the live attendee page.
Before opening day, record the last venue approval and page check time. During the event, assign one person to receive room changes and one to publish or approve a correction. Afterward, decide whether the plan should remain with that edition, carry a clear past-event label or be retired. A new event edition needs a fresh check of rooms, labels and links.
Sources and further reading
- Images TutorialW3C WAI · Accessed
- Understanding Success Criterion 2.4.4: Link Purpose (In Context)W3C WAI · Accessed