Write a public event recap page: from verified notes to useful takeaways
A public recap serves people who attended, people who missed the event, and anyone deciding whether to engage with your next one. It should tell them what happened and what they can use now. That is a different job from an internal post-event report, which compares goals, costs and results for decision makers. Build the recap from confirmed event records, then check every public claim and asset before sharing its URL. The editable worksheet below keeps the draft separate from internal approvals.
Boletolibre editorial team
Published
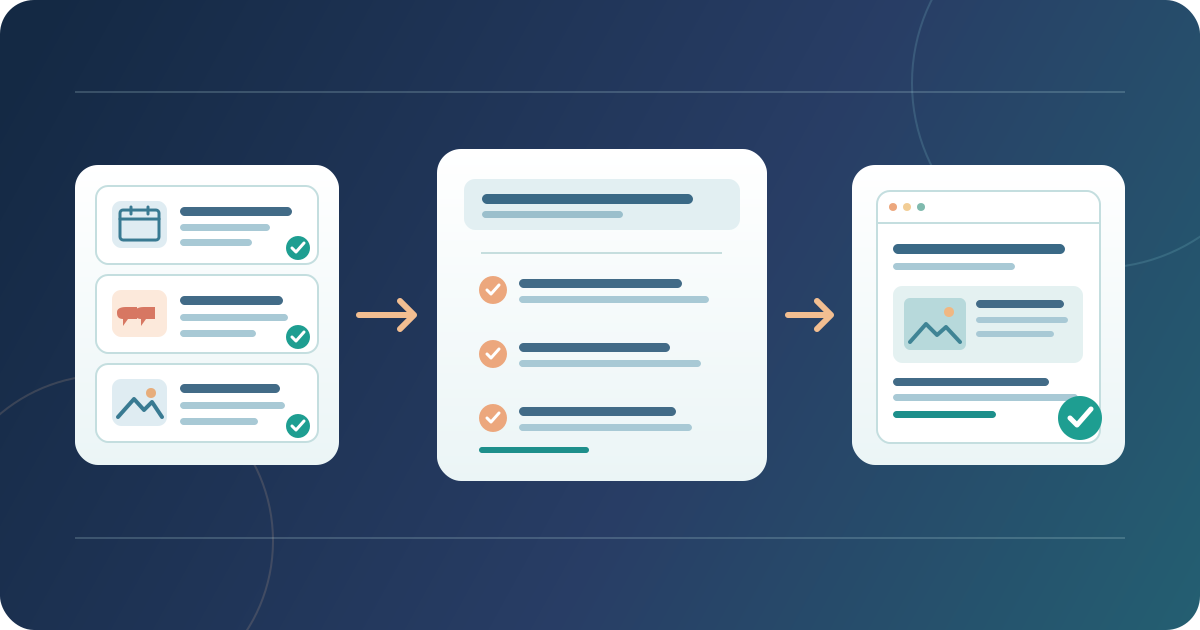
Choose one reader task and a clear angle
Download the editable public event recap worksheet (English Markdown)
Decide what the page will help a reader do: catch up on an event they missed, revisit useful sessions, or find the promised materials. Name the event edition, actual date and place near the start. A celebration of the organizer is too vague to guide the draft; a specific question such as “What did the workshops teach participants?” gives the writer a test for each paragraph.
Write one sentence that captures the public takeaway, then choose two or three moments that support it. If the event contained unrelated tracks, link to a programme or separate session pages instead of squeezing everything into one narrative. Ask an event lead to approve the scope before collecting quotes and images so later review focuses on facts, not a moving brief.
Collect records before writing claims
Gather the final programme, session notes, approved slides or recordings, speaker names and titles, and any event-page corrections. Record which version you used. For a figure such as attendance, write down its definition, source and cutoff; omit it from the public recap unless the owner has approved that exact wording. An internal estimate should not become a public fact because it fits a headline.
For each quotation, keep the speaker, exact source, context and approval status beside the proposed excerpt. Paraphrase accurately when a quote is not cleared, and do not invent a line to enliven the story. Ask the person responsible for photographs or video to identify assets cleared for this page. Keep private attendee comments and contact details in their controlled source, not in the drafting sheet shared with editors.
Open with the event and a verified moment
Make the headline specific enough to identify this edition and its subject. In the opening, give the date, place or format, and the most useful verified highlight. Avoid claiming that an event was “the biggest,” “sold out,” or “transformative” unless the statement has a defined basis and belongs in a public recap. A reader should understand the subject without clicking through to an old registration page.
Follow the lead with a short scene or observation from a reliable record: a demonstrated technique, a question that shaped discussion, or a session outcome. Attribute a speaker's idea to that speaker and link to the approved session material when it exists. If a session was changed or cancelled, describe what actually happened rather than repeating the pre-event programme.
Build the body around useful takeaways
Give each main section one takeaway and a heading that tells the reader what they will learn. Explain the moment, cite or link the event material behind it, and say how a reader can apply or revisit it. A chronological list of everything that happened may be accurate but often hides the reason to read. Keep logistics, sponsor acknowledgements and next-event promotion secondary to the ideas the page promises.
Use numbers only when they illuminate a point and the underlying record is ready for public use. Distinguish what was demonstrated, what a speaker proposed and what the organizer concluded; those are different kinds of statements. If you mention feedback, state whose feedback it is instead of presenting a few comments as the view of all attendees. End each section with a useful link or next step only when there is one.
Choose media that adds information
Select a small number of approved photos or diagrams because they clarify a moment, not merely because they fill space. Confirm names and captions against the event record. For an informative image, write alternative text that conveys the information it adds to the page; W3C's guidance distinguishes this from a purely decorative image. Test that the meaning remains understandable when the image is unavailable.[1]
If a recording adds value, label its subject and duration and link to the version intended for public viewing. Prerecorded video with meaningful audio needs captions for accessible use, as W3C explains. If the video is hosted on YouTube, its Help documentation describes how to add or edit captions in Studio; other hosts have different controls. Check the actual published recording and captions rather than assuming a draft upload is ready.[2][3]
Close, publish and make corrections possible
Close with a concrete resource or action: slides that are approved for release, an accessible recording, the next relevant event, or a way to ask a follow-up question. Label each link for its destination. Do not promise that an unavailable recording or future edition is already scheduled. A short closing can also say where readers will find later materials if the team has committed to publishing them.
Before sharing, compare the live page with the approved draft on a phone and desktop. Check the edition, dates, names, quotes, media captions, alternative text and every link destination. Make the page reachable from a relevant event archive or information route, then record its URL, reviewer and publication date. If a correction arrives, fix the public page and recheck the affected link or statement; changing the private notes alone does not update what readers see.
Sources and further reading
- Informative ImagesW3C Web Accessibility Initiative · Accessed
- Captions/SubtitlesW3C Web Accessibility Initiative · Accessed
- Add subtitles and captionsYouTube Help · Accessed