How to set up an event order confirmation page and check the next step
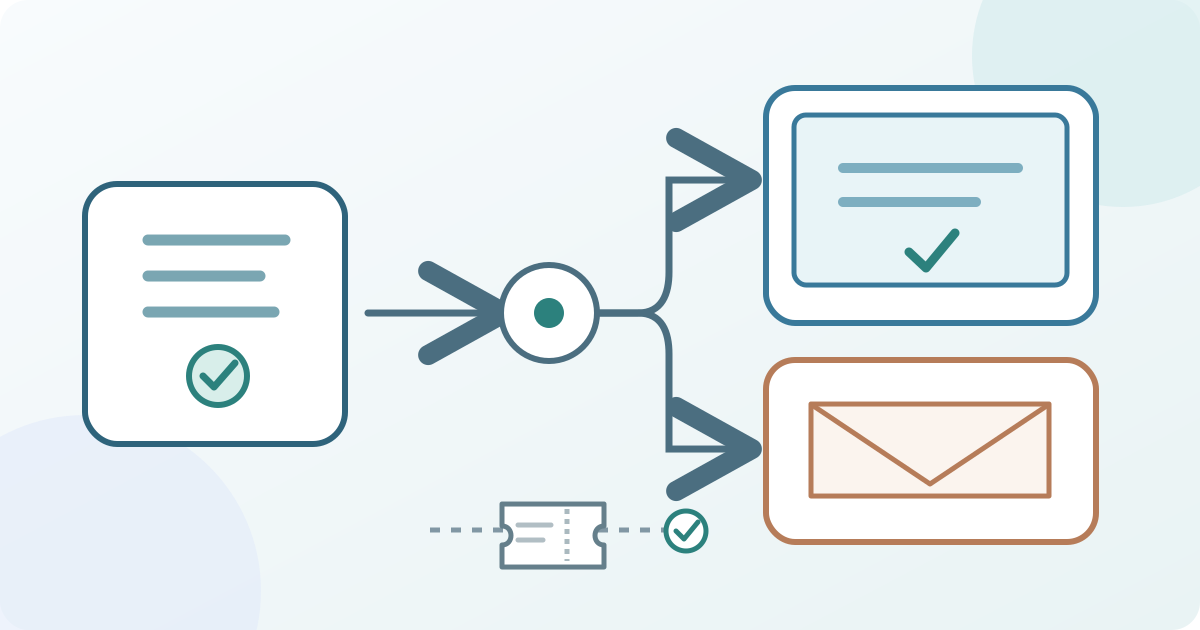
The page shown after checkout is a handoff, not an entry credential. It should tell the buyer what the system actually recorded, where to find the next step, and how to get help. Configure the screen separately from the confirmation email, then check that both describe the same state.
Boletolibre editorial team
Published
1. Identify the order state that reaches the page
Download the confirmation-page state and surface check card (Markdown, English)
Record which action shows the screen: a completed purchase, a free registration, a pending request, or another provider-defined result. Do not use a success headline for a place that is still pending or waitlisted. The order reference, payment record and issued admission right may be separate records. Decide which one the page can truthfully confirm before drafting its words. If the platform has several outcome screens, map each to its own actual trigger.
2. Write one clear next step for the buyer
Lead with the real status and the event's name. Then give the buyer one concrete action: retrieve the ticket, save arrival details, complete an outstanding step, or contact the organizer. Show the correct event date and time zone if the screen includes them. Use a working support route and explain where the ticket or reference will arrive. Avoid putting a private ticket link, personal answers or payment details into a generic public example. Keep promotional links below the practical instruction.
3. Edit the page in the ticketing system
Find the provider's page editor and update only the relevant state. Eventbrite provides a message for the page shown after a successfully completed order; its email and PDF message are edited separately. EventCreate's confirmation-page editor lets organizers update the header, description, instructions and links. EventCreate also documents distinct Attending, Not Attending and Registration Closed confirmations. Those menus and states belong to those products: verify your own provider's trigger and editable fields before saving.[1][2][3]
4. Check the email and ticket-type differences
Read the page beside the actual confirmation email and any ticket-delivery route. Eventbrite offers separate page and email/PDF messages, plus optional messages by ticket type; a change to one surface does not prove the other changed. EventCreate likewise has separate page and email editors. If a ticket category needs different arrival instructions, check whether the provider can target that category and which surface receives the variation. Do not treat the on-screen message as a substitute for a valid issued ticket.[1][3]
5. Run a controlled buyer-view check
Use the provider's approved preview or test method, without creating an unapproved real charge. Check the completed-order path on mobile and desktop: status headline, event identity, next-action link, ticket retrieval and support contact. If the platform exposes pending, declined or closed states, inspect those separately; do not assume every provider has them. Compare the email delivered by the controlled test with the screen, including any ticket-type variation. A page load alone does not prove a payment settled or that an admission credential was issued.
6. Assign the update and exception owner
Name the person who can edit the page, the owner of ticket-delivery support, and the person who approves the final wording. Save the version and date in a change note. If a link fails or the screen claims more than the order record supports, stop using that path for promotion, correct it and repeat the affected check. Recheck after an event-date, venue, ticket-delivery or status-flow change, because the original message may no longer fit.
Sources and further reading
- Customize your order confirmationEventbrite Help Center · Accessed
- How to Edit Your Event Confirmation PageEventCreate Help Center · Accessed
- How to Set up Email Confirmations, with an Attendee Receipt through EventCreateEventCreate Help Center · Accessed