How to embed event ticket checkout on your website and test the buyer route
An embedded ticket widget can let visitors begin buying from your event website, but the final checkout behavior depends on the provider and browser. Treat the embed as a buyer route that needs its own event, ticket, page and confirmation checks. Use the worksheet to record what a visitor actually sees.
Boletolibre editorial team
Published
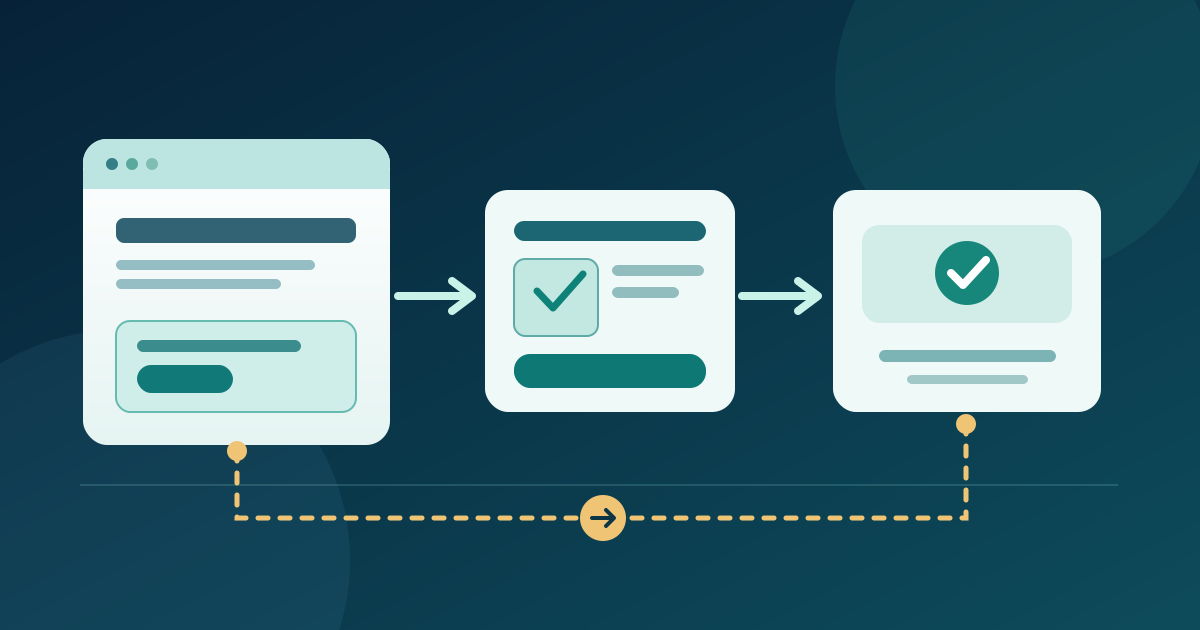
1. Check the event and page before copying code
Download the embed and buyer-route test worksheet (Markdown, English)
Record the event you intend to sell, its public event URL, the ticket types that should be available, and the page where the purchase control will appear. Confirm that the intended tickets are actually on sale in your provider account. If the event or ticket is still a draft, an attractive widget may show an empty or unavailable state. Name the person who can change ticket settings and the person who can edit the website.
Check the prerequisites in your provider and website editor before installing anything. Eventbrite requires an eligible published or scheduled event, on-sale tickets, HTTPS and access to add custom code for its Embedded Checkout. A hosted site may restrict script or HTML blocks even when the organizer can edit ordinary page text. Ask the site owner to confirm the approved insertion point; do not paste an untrusted snippet from a search result.[1]
2. Choose the ticket entry point
Decide whether the page needs a visible ticket list, a compact button, or a link to the provider-hosted event page. Use the provider's available options and the buyer task, not the appearance alone. A button that opens an overlay has different space and focus behavior from a ticket list placed inside the page. Put the purchase entry point near the event date, location and price context so visitors can tell which event they are selecting.[1][2]
Provider labels and behavior differ. Eventbrite offers button and ticket-list styles for its Embedded Checkout and limits that checkout to one event at a time. Ticket Tailor offers widget settings for an event or store and a preview before copying its code. Ticket Tailor also says browser-cookie restrictions can move checkout to a new tab. Write down where the real flow opens; 'embedded' is not a promise that every payment step stays on your page.[1][2]
3. Place and publish the generated embed
Generate the snippet from the selected event in your ticket provider. Eventcube, for example, tells organizers to copy its website embed code from the event overview; Ticket Tailor supplies HTML or WordPress code after widget configuration. Paste the code only into the website editor's approved custom-code/embed area. Keep a copy of the provider event URL as a direct alternate route, and label the button or section with the event it actually sells.[1][2][3]
Preview the website page if your editor offers a real preview, then publish and open the public URL. Check that the widget is not clipped by its container and that it does not cover important event text. If you change an Eventbrite embed's appearance after copying its code, Eventbrite says to replace the old pasted code with the newly generated version. For any provider, compare the live page to the saved configuration rather than assuming a dashboard change reached an existing snippet.[1]
4. Follow the buyer route end to end
Open the public page in a logged-out browser. Check the event name, date, visible ticket types, displayed prices and sale status against the provider event. Select an intended ticket and follow the route through quantity, questions, checkout and confirmation where an authorized test path permits. Observe whether the flow remains on the page, opens an overlay, redirects or starts a new tab. A working first button does not prove that a buyer can finish.
Use a provider-supported test or a deliberately controlled ticket. Eventbrite warns that completing a purchase from its preview creates a real registration, so plan cleanup or an approved test route before submitting. Check the resulting registration or order in the provider record, not just a success screen. If you cannot safely complete a test, mark confirmation unverified and name who will do the authorized final check.[1]
Repeat the start of the journey on a narrow phone screen and with keyboard navigation, including opening and closing any overlay. Try a second browser if the route changes or fails. Use the worksheet to record each observed destination and error. Test the direct provider event URL as a separate fallback; it must point to the same event and an available ticket, not merely load a generic storefront.
5. Diagnose the visible failure, not just the code
If the control is blank or unavailable, first check event publication, ticket sale status, the correct event selection and whether the website allows the required code. If the wrong event appears, compare the generated snippet to the provider event you selected. Eventbrite lists an incorrect event ID as one possible cause. If the flow leaves the page, do not call it a broken embed without checking the provider's expected behavior: Ticket Tailor says some browsers open a new tab because of cookie restrictions.[1][2]
If the widget appears but cannot be used, inspect its container width, scrolling and button visibility on the public page. Eventbrite documents sizing, scrolling, Safari and HTTPS-related branches for its own checkout; those diagnoses are not universal fixes. Capture the exact page URL, browser, device, visible message and point of failure for the website owner and provider support. Have a tested direct event link ready while they resolve the issue.[1]
After any fix, re-run the failed case and the basic ticket path. Do not infer that a corrected visual layout repaired checkout, or that a provider status message means a completed order. Compare the provider record and buyer confirmation when an authorized completion test is possible. Keep the exception owner and tested alternate route visible to the event team.
6. Keep the route current
Assign one owner for the ticket configuration and one for the website snippet. Recheck the live route when the event date, ticket types, sales windows, page template or domain changes. If you replace a widget, remove the old control so buyers do not encounter two different event routes. Record the last successful public-page test and the direct event URL beside the page owner.
Before promoting the page, ask someone who did not install the embed to follow the buyer path and name the event they reached. Their observation is a useful check for wrong-event and hidden-window problems. Keep the direct provider link available as a deliberate alternative, and update or remove both routes when sales end.
Sources and further reading
- Using Embedded Checkout to sell tickets on your websiteEventbrite Help Center · Accessed
- How to embed a box office widget on your websiteTicket Tailor Help Centre · Accessed
- How to Embed your Eventcube Tickets on Your WebsiteEventcube Help Center · Accessed