How to give event check-in staff scanner access
Before doors open, confirm each worker can scan the intended event without unneeded order or reporting access. An app that opens on a phone does not prove this. Set up each person and device, then record a controlled test and an access-removal owner.
Boletolibre editorial team
Published
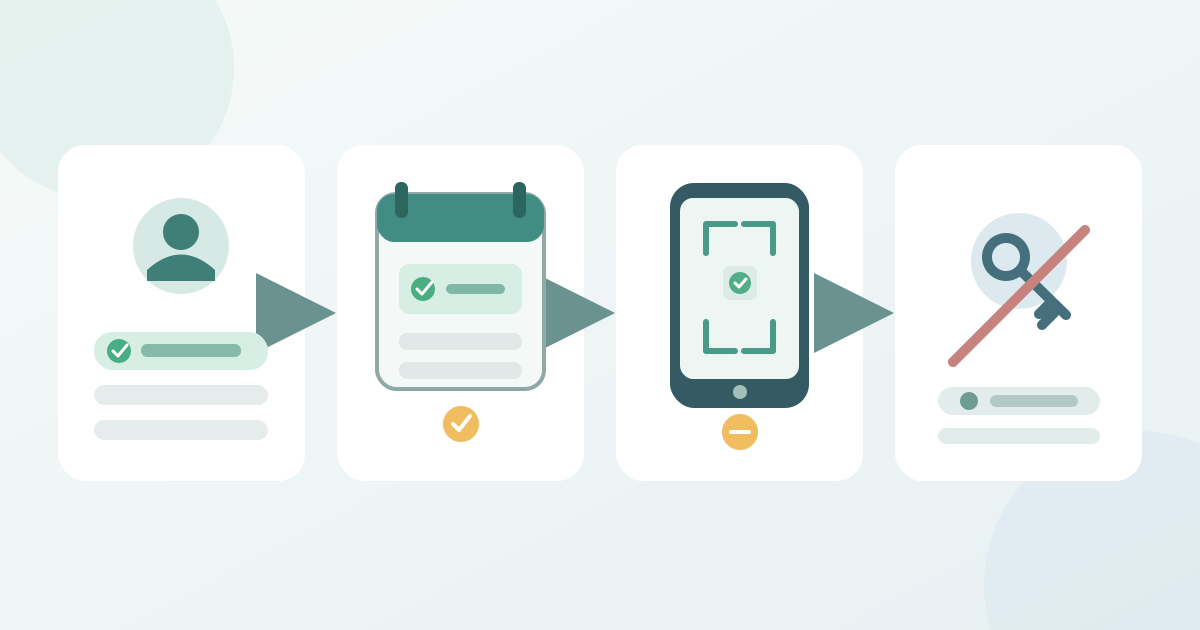
1. Choose the event and minimum role
Download the staff scanner-access worksheet (Markdown, English)
Record each worker’s event, occurrence or date, shift, gate, device and admission task. Decide whether scan and check-in alone are enough or whether sales, order changes, reports, membership redemption or invitations are needed. Name the person approving and later removing access. Do not share the organizer login or put invitation links and codes in the worksheet.
Compare the provider’s controls. Humanitix’s Hosts-app guide lists choices for Check-ins, reporting, selling and sharing access; its account permissions can restrict scanning to selected events. Ticket Tailor lets organizers choose events, in-person orders, membership access and data visibility for Check-in app users; some choices cannot be edited later. Wix offers event-specific access and separate permissions for check-in, guest answers, adding guests and analytics. Do not assume another platform offers a scanner-only role.[2][3][4][5]
2. Invite each worker and prove the device setup
From an authorized organizer account, use the supported invitation route. Humanitix describes app-to-app event access by QR and advance sharing through account permissions. Ticket Tailor sends an individual Check-in app invitation; Wix uses a staff link or QR. Treat each link or QR as an access credential and deliver it through the approved staff channel. Record its reference and acceptance status, not the secret.[1][4][5]
Have the worker sign in on the assigned device and open the exact event, date or occurrence. Confirm the ticket types or scan mode at that lane. With a controlled sample ticket and limited staff account, rehearse valid, wrong-event or wrong-date, and already-used responses. If testing changes a live ticket state, use the provider’s supported test or correction process. Do not check in a real attendee solely to prove access.
3. Verify access and remove it after the shift
Inspect the worker’s view, not just organizer settings. Confirm the right event is present and unrelated events absent. Verify scanning, the absence of unapproved sales or reporting controls, and which attendee details are visible. Wix says its check-in staff can see guest information; the role label does not promise a data-free view. A device ticket-type filter is different from account permissions. Assign excess access or a missing event to an owner before doors open.[5]
At shift end or reassignment, remove or pause access through the provider’s supported control and verify the old worker or device lacks unintended access. Humanitix documents editing or deleting shared permissions; Wix documents pausing staff access. Another provider may differ, and disconnected devices may not reflect changes immediately. Record who requested closure, who applied it, the time and a follow-up check. Keep attendee records out of the access log.[3][5]
Sources and further reading
- How to share scanning app access with volunteers and staffHumanitix Help Centre · Accessed
- How to use the Humanitix for Hosts appHumanitix Help Centre · Accessed
- How to share event access with another user or teamHumanitix Help Centre · Accessed
- How to download and invite your team to the Check-in appTicket Tailor Help Centre · Accessed
- Check-in by Wix: Adding and Managing Staff MembersWix Help Center · Accessed