Reserved-seat ticketing requirements checklist: map, holds and access
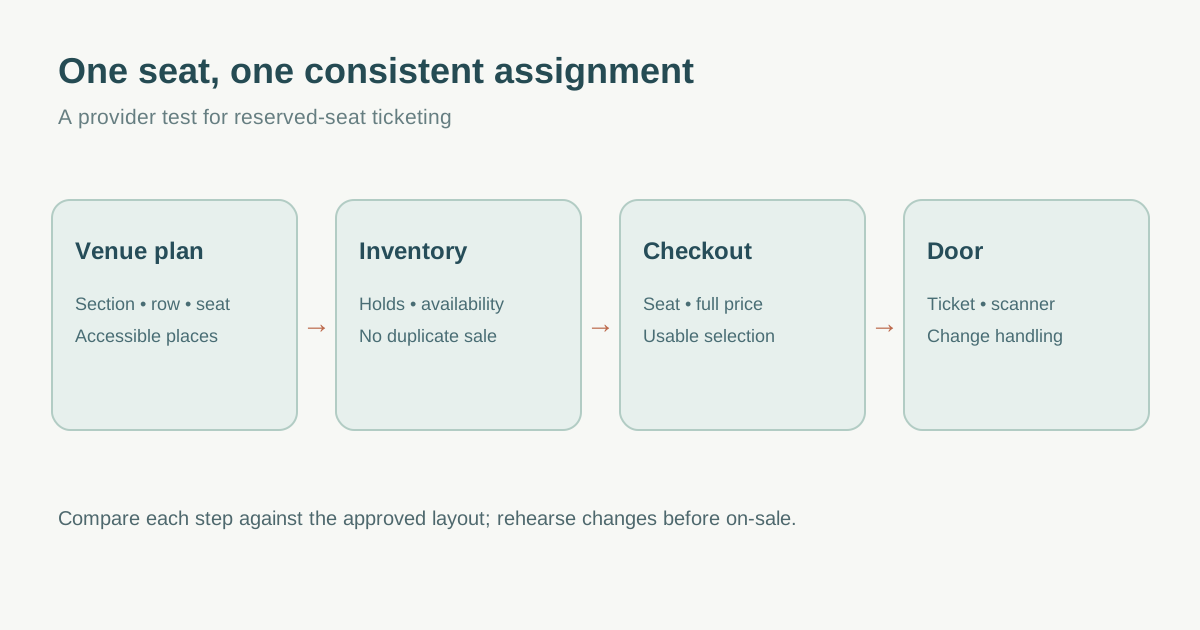
Choosing reserved seats is more than drawing a seating chart. The buyer must understand the exact place, the inventory must prevent conflicting assignments, accessible options must be represented correctly, and door staff must see the same assignment. Use this checklist to compare a provider against your actual venue and sales process before tickets go on sale.
Boletolibre editorial team
Published
Start with the approved venue layout and a seat inventory
Record every sellable section, row, seat and table from the venue-approved plan. Keep one stable identifier per place, with readable labels that match physical signage. Mark sightline notes, obstructed views, production positions, unsellable seats and any general-admission zone. A ticketing map is a sales representation of the venue, not authority to increase approved capacity.
Ask a provider to demonstrate curved or irregular rows, tables and mixed reserved/GA areas using your real layout. Eventbrite documents sections, tables, seat labels, tiers and holds, but also lists configuration constraints; make these a vendor-specific test, not a promise that all systems behave alike.[2]
Test the complete buyer and inventory transaction
Run a real sample order: choose seats, see prices and fees, hold the selection through checkout, abandon one cart, complete another, and confirm the resulting ticket names the correct section, row and seat. Ask when a temporary hold expires and what happens when two buyers select the same place. Confirm group purchases, adjacent seats, mobile map usability and a text-based route if the visual map cannot be used.
Add a workflow for house, artist and production holds: who creates, releases or reassigns them, what buyers see, and how a sold-seat change is communicated. Eventbrite exposes held, sold and available seat states in its reserved seating dashboard; use the equivalent evidence from each proposed provider.[3]
Specify accessible seating without inventing a universal rule
Identify wheelchair spaces, companion seats, other relevant seat features and routes from the venue plan. Ask the venue and qualified local accessibility lead to review allocation and release rules. Describe these places with the same useful location, view and price detail given to other seats. For U.S. covered venues, ADA.gov says accessible seats must be sold in the same manner and under the same conditions as other seats and described at comparable detail; requirements elsewhere may differ.[4]
Test whether a buyer can find and purchase the needed arrangement, including companion placement, without an inaccessible checkout step. Document any support route and how staff handle a change request. Do not infer disability from a seat choice or publish a generic legal seating ratio.
Confirm assignment continuity through changes and check-in
Inspect the buyer confirmation, downloadable ticket, attendee record and scanning view. Each must point to the same assigned place. Rehearse a seat move, refund, transfer and canceled order; confirm the old assignment is no longer admitted and the released seat status is correct. Give ushers a current seat map and a named exception owner. A QR code alone is not proof that a seat assignment survived every change.
Download the reserved-seat provider evaluation worksheet (Markdown, English)
Sources and further reading
- Reserved Seating for Events: The Complete Guide (2026)Addmi · Accessed
- Create a reserved seating eventEventbrite Help Center · Accessed
- Manage your reserved seating eventEventbrite Help Center · Accessed
- ADA Requirements: Ticket SalesADA.gov · Accessed